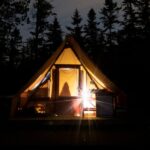
A bike tent camping kitchen is a small outdoor cook station that has to ride on the bike, sit well clear of the tent, and still produce a hot meal after a day in the saddle. The useful version is not a scaled-down car-camp box. It is one heat source, one main pot, a way to eat, and a cleanup method that fits in a frame bag or seat pack and can be set up on dirt, gravel, or a picnic table in a few minutes.
The constraint is the combination of bicycle and tent. Volume and weight are limited, vibration rattles loose metal, and the sleeping area is fabric a short distance from an open flame. Most trips go better when the kitchen is planned around those limits instead of around the meals you would cook at home.
What the kitchen has to do on a bike-and-tent trip
Three jobs matter more than having a full set of pans.
It has to boil or simmer enough water or food for the people on the trip, usually one or two. It has to survive being packed low on the bike without leaking fuel or punching holes in a dry bag. And it has to be used outside the tent, on a surface that will not catch fire or turn into mud.
Anything beyond that is optional. A second mug, a small cutting board, or a pan lid that doubles as a plate can be worth the space. A full mess kit, a two-burner stove, and separate bowls for every course usually are not, unless you are touring with panniers and cooking for several people at established campgrounds.
Match the kitchen to the trip, not the catalog
The right setup depends on how often you can resupply, how cold the nights are, and whether you want real cooking or just hot water.
Boil-water trips. Overnight rides and routes with frequent shops work with a canister stove or alcohol burner, a 500–750 ml pot or mug, a long spoon, and a lighter. Dinner is couscous, instant noodles, oats, or a dehydrated meal. The whole kit can stay under about 300 g before fuel if the pot is titanium and the stove is a small screw-on burner or a simple alcohol stove.
One-pan trips. Multi-day routes where you want eggs, fried vegetables, or a sauce need a wider pot or a small frypan, a lid, and a stove that can simmer. Hard-anodized aluminum handles this better than thin titanium, which can scorch food if the flame is large. A 900 ml to 1.3 L pot is a practical solo size. For two people, nested pots around 1 L and 1.5 L are more useful than one oversized pot that will not pack.
Established campground trips. If the bike has panniers and the site has a table, a slightly larger pot, a collapsible bowl, biodegradable soap, and a small sponge are reasonable. You still do not need a full camp kitchen box. The tent is still fabric, and the stove still belongs outside it.
Fuel availability should decide the stove before brand preference does. Threaded isobutane-propane canisters are easy in much of North America and parts of Europe, and awkward or unavailable on long remote routes and in many other countries. Alcohol (methylated spirits or denatured alcohol) is sold more widely and stores in a simple bottle. Twig and wood stoves remove the fuel canister only where burning biomass is allowed and the wood is dry.
The gear that earns space on the bike
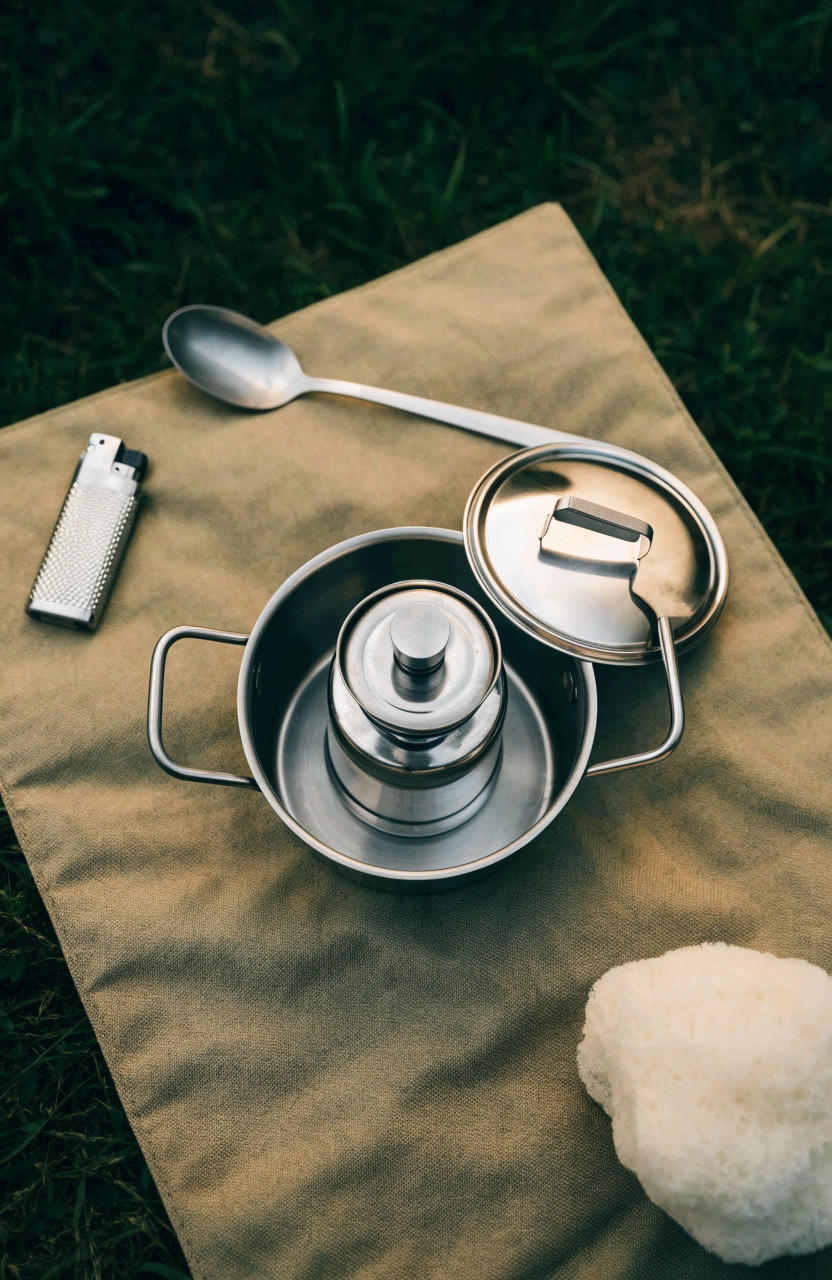
| Item | What to carry | Why it matters |
|---|---|---|
| Stove | Canister burner, alcohol stove, or legal twig stove | One heat source is enough for almost every bike-tent meal |
| Pot | 600–1,000 ml solo; nested 1 L and 1.5 L for two | The pot is also the packing case for stove, lighter, and sponge |
| Lid | Pot lid, or a plate that fits the rim | Cuts boil time and keeps ash and rain out of food |
| Utensil | Long-handled spork or spoon | Short spoons force your hand over the hot rim |
| Ignition | Mini lighter, plus matches in a small bag | Piezo igniters fail when wet or cold |
| Wind help | Small foil screen or the stove’s own screen | Wind can double fuel use |
| Cleanup | Bandana or small scrub pad; soap only if needed | Most meals wipe clean if you eat the pot empty |
| Knife | Small locking blade or multitool you already carry | Opens packaging and cuts cheese, sausage, and vegetables |
Pack the dense pieces — fuel canister, stove, full water — low and near the center of the bike, usually in the frame bag. Lighter, bulkier items such as a mug or collapsible bowl can go in a seat pack or handlebar bag. Nest the stove and lighter inside the pot, with a cloth between metal parts so they do not rattle on gravel.
A solid windscreen helps an alcohol stove. Do not fully wrap a canister stove in foil. Heat trapped around the canister can overheat it. Use the stove’s own partial screen, or stand the pot behind a rock, a log, or the bike so the flame is sheltered without enclosing the fuel.
Where the kitchen goes relative to the tent
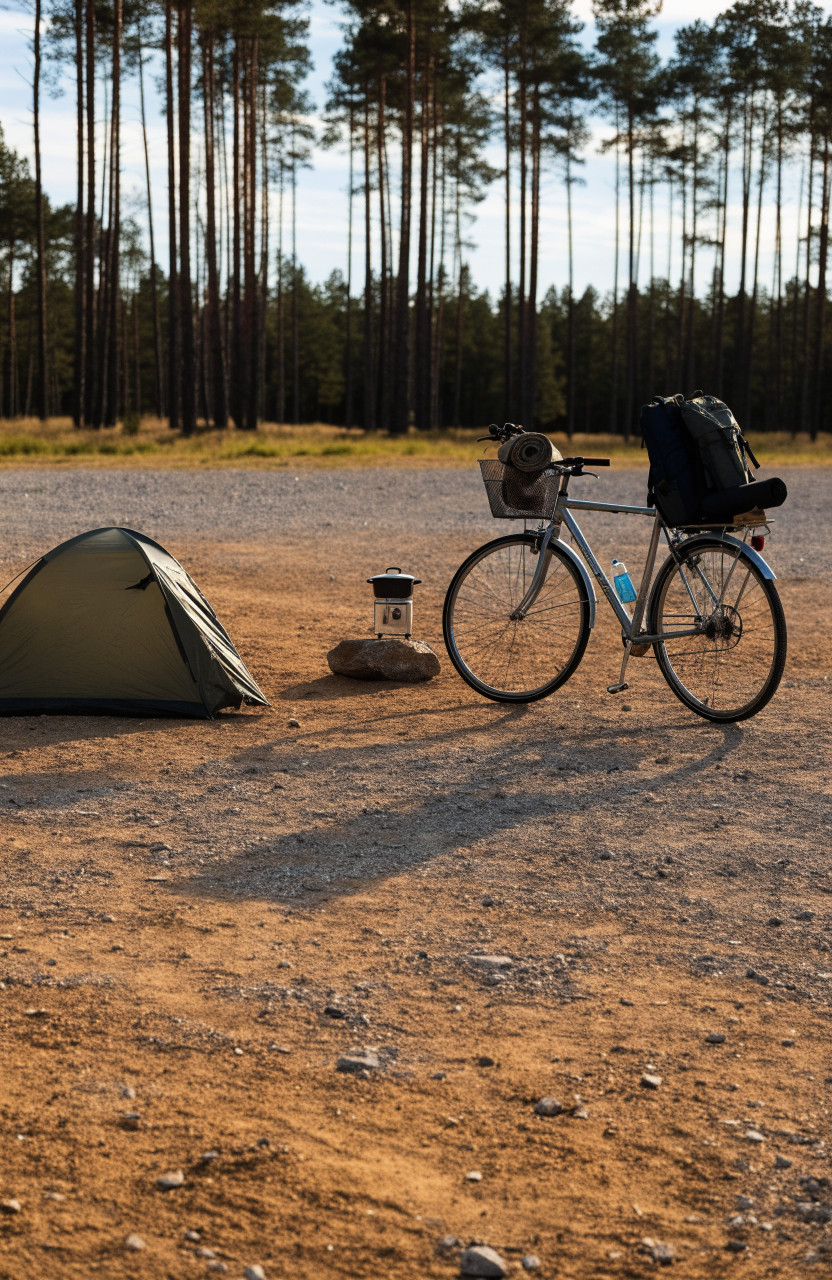
The kitchen is a separate zone from the tent, not a corner of the vestibule.
Cook outside, on a durable surface: bare dirt, gravel, rock, pavement, or a picnic table. Brush duff and dry grass away from the stove. Sit so a spilled pot of boiling water lands on the ground, not in your lap. In wind, put a solid object on the windward side — the bike, a boulder, a low bank — and keep the stove stable. A canister stove on soft ground needs a flat rock or a small pot stand under it so it cannot tip.
Do not run a camping stove, grill, or charcoal burner inside the tent, a closed vestibule, a bike trailer, or a vehicle. Fuel-burning appliances produce carbon monoxide, which has no smell, and the U.S. Consumer Product Safety Commission warns that people die from CO when charcoal and similar equipment are used in tents, campers, and vehicles. A vestibule is still an enclosed space. Rain is a reason to cook under a tarp with open sides, or to wait, not a reason to move the stove into the tent.
In backcountry and bear country, separate the zones further. Leave No Trace practice is to camp, wash, and dispose of waste about 200 feet (roughly 70 adult steps) from lakes, streams, and springs. In bear country, the common pattern is a triangle: tent, cook site, and food storage each well apart, often on the order of 200 feet, with the cook site downwind of the tent so smells do not drift into the sleeping area. Designated campgrounds rarely allow that spacing. There, use the site’s table or a hardened pad, follow posted fire rules, and still keep the stove outside the tent.
Check the local fire order before you leave. Some areas ban wood fires and restrict stove types during dry periods. A canister or alcohol stove is often still allowed when open fires are not, but that is a local rule, not a guess.
A setup sequence that works in wind and rain
- Pitch the tent on high, drained ground, clear of dead branches, then walk the cook spot before unpacking food. Flat, mineral soil beats a soft meadow.
- Point the kitchen downwind of the tent door if the site allows it. You want exhaust and food smell moving away from the sleeping area.
- Set the bike or a rock as a windbreak. Lay out only what the meal needs: stove, pot, fuel, lighter, spoon, and the food bag.
- Start water first if the meal is dehydrated. Prep anything that must be cut while the water heats, using the pot lid or a clean stuff sack as a board.
- Eat from the pot when you can. Fewer dishes means less greywater.
- Extinguish the stove fully, let the pot cool, then wipe it before it goes back in a bag. Pack food and trash before you get into the tent.
If rain is heavy, a small tarp with two open sides is the workable shelter. Keep the stove near the open edge, never under a low, closed fly. Wet fuel canisters and cold alcohol stoves both perform worse in wind; a lid and a real windbreak save more fuel than a larger canister.
Rain is no reason to move the stove into the vestibule. Carbon monoxide and a nylon wall are a worse problem than a cold meal, so cooking stays outside the tent.
Stove and fuel choices that survive a bike trip
Canister stoves are the default for short and medium trips where threaded fuel is easy to buy. They light quickly, simmer reasonably on better models, and nest in a pot. Cold weather reduces canister pressure. Keeping the canister warm in a jacket before cooking, and using a stove with a pressure regulator, helps. A 100 g canister is often enough for several boil-only dinners for one person; actual use depends on wind, altitude, and whether you simmer.
Alcohol stoves have no moving parts and use fuel you can pour into any tight bottle. They are slower, harder to simmer, and the flame is nearly invisible in daylight, so treat the burner as lit until you know it is out. They suit long routes and international trips better than weekend canister convenience.
Twig stoves remove the need to carry fuel where wood is available and fires are legal. They soot the pot, fail when the wood is wet, and are banned in many fire restrictions. They are a choice for specific regions, not a general replacement for a canister or alcohol stove.
Integrated systems such as a Jetboil-style stove boil fast and block some wind. They are less flexible for frying. A separate burner plus your own pot is the better match if the meal is more than hot water.
Food that does not need a real counter
Bike-tent meals work when most of the work happened at home or in the shop.
- Breakfast: oats or granola with milk powder, nut butter, and instant coffee.
- Lunch: tortillas, cheese, salami, nuts, and fruit that will not crush in a bag. No stove required.
- Dinner: couscous or noodles with olive oil, a dehydrated meal, or one pan of vegetables and a shelf-stable protein.
Plan portions so the pot is empty. Leftovers are a smell problem, not a next-day lunch, unless you can keep them cold and sealed. On routes with daily resupply, buy the heavy fresh food for that night only. On remote stretches, calories per gram matter more than variety: oil, nut butter, cheese, and dried meals beat bulky fresh produce.
In bear country, a hard bear canister is awkward on a bike but sometimes required. Where a soft-sided approved bag such as an Ursack is allowed, it packs more easily. Hanging food is harder than it looks and fails often. Follow the land manager’s rule for that area rather than a generic hang diagram.
Never wrap a canister stove in a full foil screen: the flame stays lit, but the canister can overheat. Set the stove on a meter of cleared mineral soil, a fire pan, or an established pad, never on dry grass or pine needles.
Cleaning, greywater, and food storage
Scrape the pot clean first. Hot water and a bandana handle most bike-tent meals. Soap is optional on short trips if you eat everything; if you use it, use a small amount of biodegradable soap and still keep the wash 200 feet from water.
Strain food bits out of greywater and pack them out with trash. Scatter the remaining water widely, or pour it into a small sump hole in bear country, well away from camp, trails, and water. Do not dump it at the lake edge or beside the tent.
Store food, trash, toothpaste, and the cook pot used for scented meals away from the tent overnight. In a campground, that may mean a locker or a vehicle. In the backcountry, it means the required canister, bag, or hang. The kitchen smell is what draws animals, not the tent fabric.
Frequently asked questions
Can you cook in a tent vestibule if the door is open? No. A vestibule still traps exhaust. Cook outside, or under a tarp that is open on at least two sides. Never sleep with a stove, charcoal, or grill burning.
How much should a bike camping kitchen weigh? A boil-only solo kit often lands around 250–400 g before fuel. A one-pan kit for real meals commonly sits around 500–800 g before fuel. Pannier touring can carry more; bikepacking rarely benefits from it.
Gas, alcohol, or wood for bike tent camping? Gas if you can buy canisters on the route and want speed. Alcohol if resupply is uncertain or you want a stove with nothing to break. Wood only where it is legal and the fuel will be dry.
How far should the kitchen be from the tent? Far enough that a flare-up cannot reach fabric, and downwind when you can choose. In bear country and at dispersed sites, aim for a wide separation between sleep, cook, and food storage — commonly discussed as about 200 feet — and always follow the posted rule. In a crowded campground, use the table and keep the stove outside the tent.
What is the smallest kitchen that still works? A stove, fuel, a pot you can eat from, a spoon, and two ways to light it. Add a lid and a bandana before you add a second pan.