
I spent my first three car camping trips sleeping on a thin yoga mat in the back of my old Honda CR-V. My back ached for days. Condensation dripped on my face. I nearly quit the whole idea.
Honestly? That third night in the rain almost stuck.
Then I stopped treating the car like a metal box and started treating it like a mobile base. I built a real camping car setup that lets me sleep well, cook real food, and stay organized without the chaos. The primary keyword here is camping car setup, and that is exactly what this covers: the practical system I use now for nights that feel closer to home than a hard floor.
You do not need a van conversion or a $3,000 rooftop tent. You need a flat sleep surface, a working kitchen zone, and a packing system that does not leave you hunting for the headlamp at midnight. I will walk you through the pieces that matter.
Matching Your Vehicle to a Real Camping Car Setup
Your car decides the limits. A sedan forces tight choices. An SUV or wagon opens options. I learned this the hard way after stuffing a full-size cooler into a compact hatch and watching the rear visibility disappear.
Start by measuring the cargo area with the seats folded. Write down the length, width, and height. That number tells you whether you can stretch out or need to sleep diagonally. My CR-V gives me about 65 inches of length once the rear seats drop. Plenty for me at 5'8". Taller friends need a platform that extends under the front seats or a different vehicle.
Heavy gear goes low and centered. Cooler on the floor. Sleep system on top or ready to deploy. Soft bags fill the gaps. I keep the driver’s side door pocket loaded with the headlamp, multi-tool, and a small first-aid pouch. That way I never dig through bins after dark.
See, the vehicle is not just transport. It is part of the shelter. Treat the cargo space like a room with fixed walls and you stop fighting it.
Building a Sleep System That Does Not Wreck Your Back
Sleep is the whole game. Bad sleep ruins the trip. I used to think any pad would do. Wrong.
I now run a raised platform made from ¾-inch plywood on simple 2×3 frames. It sits about 10 inches off the cargo floor and creates storage underneath for bins. Total cost for the materials: under $90 at the local hardware store. I built it in one afternoon. The flat surface lets me use a proper mattress instead of fighting wheel wells.
On top of the platform I place a Luno Air Pro vehicle mattress. It fills the width of the CR-V and packs down when I need the space for day trips. Pair it with a real pillow from home and a sleeping bag rated to 20 degrees. I keep a packable comforter for extra warmth. The difference is night and day.
Window covers matter more than most people admit. I use simple Reflectix cut to size and held with magnets. They block light, hold heat, and give privacy. On warm nights I crack the rear windows and cover them with mesh screens so bugs stay out while air moves. Condensation drops when the air circulates.
If your vehicle is too short for a full stretch, consider a rooftop tent only after you check the dynamic and static roof ratings. My friend’s 4Runner needed an aftermarket rack before the tent was safe. Factory limits are often surprisingly low.
I think the wrong question is “How do I fit a bed in here?” The right question is “How do I create a flat, insulated surface that stores gear underneath?” Answer that and the rest falls into place.
Setting Up a Functional Camp Kitchen
Cooking off the tailgate works for one night. After that the mess spreads and the food quality drops. I claim a dedicated kitchen zone every time.
I carry a Coleman Classic two-burner propane stove. It cost me $45 and still runs strong after four seasons. One 16-ounce canister usually covers a full weekend of meals for two. The stove sits on an Ozark Trail folding table that cost $35. Legs adjust for uneven ground. I never cook directly on the tailgate anymore. Heat and grease ruin the paint and the surface is never the right height.
Kitchen gear lives in two clear bins. One holds the stove, fuel, skillet, spatula, oil, and seasonings. The other holds the collapsible basin, biodegradable soap, sponge, and trash bags. Total for the two-bin system: under $40 from Target. I set the table first, place the stove, hang a simple adhesive hook strip on the open hatch for utensils, and I am cooking in under ten minutes.
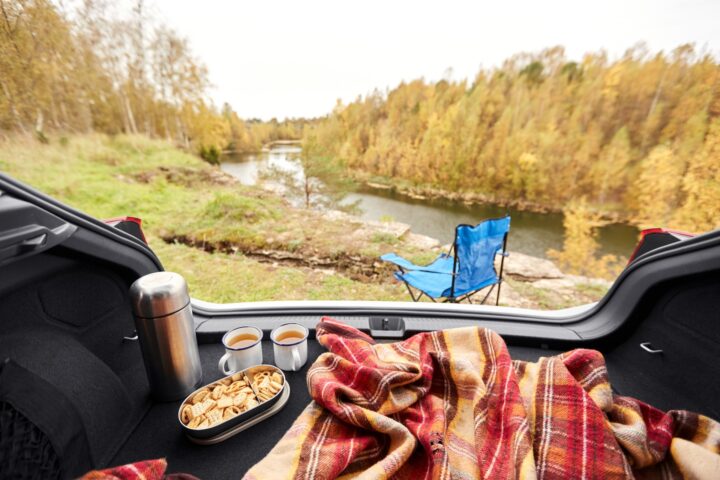
A hard cooler holds the food. I freeze water bottles the night before and use them as ice packs. By afternoon they become drinking water. For longer trips I have tested a small 12-volt fridge, but the cooler still wins for most weekend runs because it needs zero power.
Keep the kitchen zone next to the vehicle but out of the main walking path. A cheap shower curtain liner under the table catches drips and crumbs. Shake it into the trash bag at the end and the site stays clean.
Smart Packing and Zone Organization
Chaos starts the second you open the hatch without a plan. I designate zones before anything leaves the car.
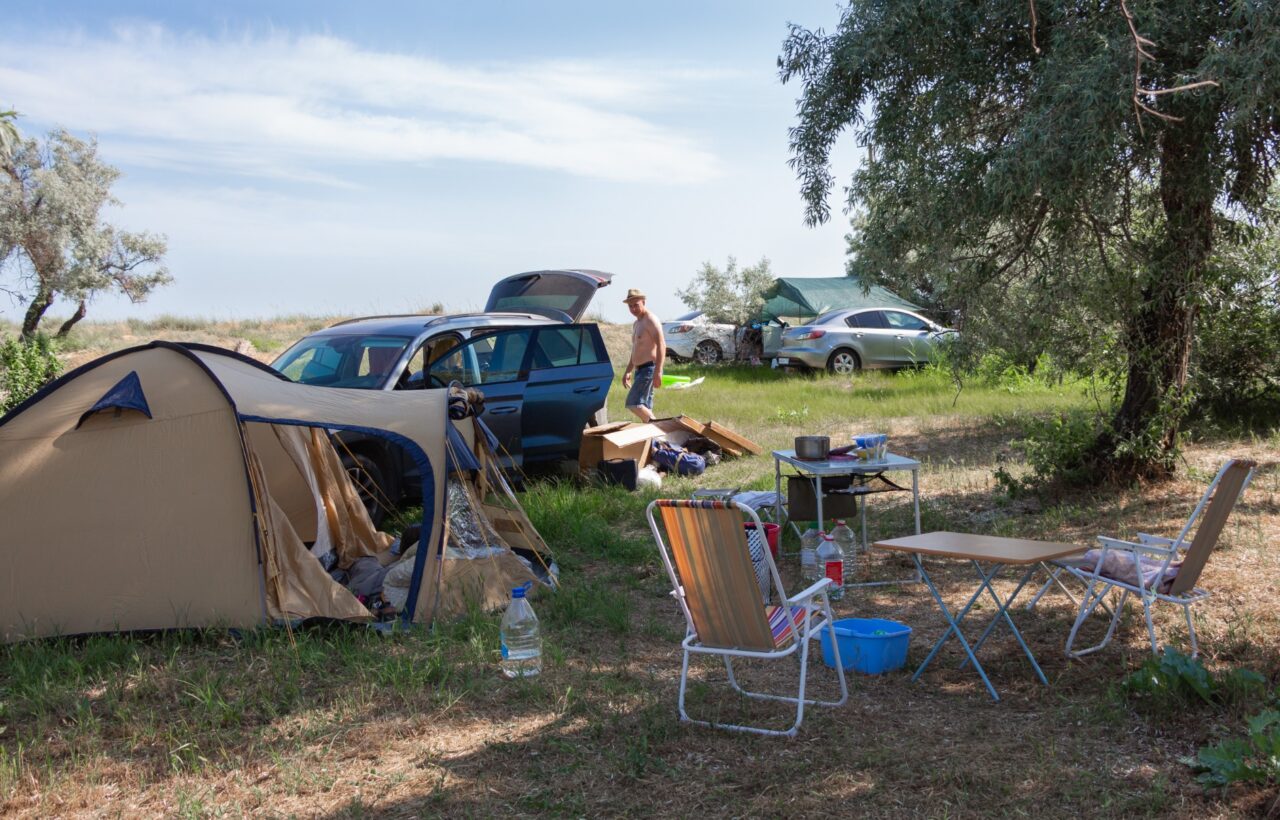
Tent or sleep gear goes on the flattest ground first, preferably upwind from any fire ring. Kitchen zone sits next to the open hatch. Chairs and living space fill the middle. Gear stays in the car until the zones exist. This one habit cut my setup time in half.
Inside the car I use a $9 spring-loaded tension rod from Walmart stretched across the cargo width. S-hooks hang the headlamps, jackets, and snack bags. Everything I grab constantly stays visible and off the floor. Bins stay clear underneath.
Pack in reverse order. Last-needed items go in first. Sleep system at the bottom or already set. Kitchen bin near the top. Clothes and chairs on the very top so they come out first if the weather turns. Heavy items stay low for better handling on the road.
I label the bins with simple tape: Sleep, Kitchen, Clothes. No more opening three boxes to find the spatula. On the drive home the system reverses. Wet gear goes in a dedicated dry bag clipped outside the tent until it can air out.
FYI, the tension rod has survived two full seasons of packing and unpacking. It is the cheapest upgrade that still earns its keep every trip.
Power, Light, and Small Comfort Upgrades
You can camp without power. You will enjoy it more with a little.
I run a Jackery Explorer 300 power station. On sale it cost around $200. It charges phones, runs a small fan, and keeps a headlamp topped up for a three-day weekend. Solar input is optional for longer stays. I keep the station in a bin so it stays dry and charged.
Lighting starts with a headlamp in the door pocket. At camp I hang a small lantern from the canopy frame or the open hatch. String lights pre-threaded on a carabiner at home clip into place in seconds and change the whole mood after dark.
A clip-on rechargeable fan pointed at the sleep area makes hot nights livable. Mesh screens on cracked windows keep the air moving without inviting mosquitoes. A simple outdoor rug at the tent door or hatch stops dirt from tracking inside.
None of these items are mandatory. Each one removes a small friction point. After a few trips you notice which ones you actually reach for and which ones stay in the bin.
Adapting the Setup as Your Needs Change
The first year I kept the budget under $400 by buying most pieces at Walmart and Target. Tent, two bins, table, stove, sleeping bags, and basic accessories. That core still works.
Later I added the platform, better mattress, and power station. Total extra investment stayed under $400 spread across a couple of seasons. I never bought everything at once. Each trip showed me the next gap.
Sedans need compact gear and a real tent. Compact SUVs handle a full kit plus a sleep-in-car backup. Wagons and larger SUVs open the door to permanent platforms and more storage. Trucks can turn the bed into the main living space with a topper or simple tarp.
I tested a $40 waterproof cargo bag strapped to the roof rails for overflow sleeping bags and blankets. It removed the need for a full roof box and comes off in two minutes. That kind of flexible addition keeps the setup useful across different trips.
IMO the best camping car setup is the one you actually use, not the one that looks perfect online. Start simple. Fix the sleep surface first. Add the kitchen zone. Organize the packing. The rest follows.
Frequently Asked Questions
What do I need for a basic camping car setup? A flat sleep surface with a decent pad or mattress, a two-burner stove and fuel, a cooler, water, lights, and a way to organize gear in bins. Everything else is comfort.
How do I sleep comfortably in the car? Create a level platform or use a vehicle-specific mattress, add real bedding and a pillow, block the windows for privacy and temperature control, and keep airflow moving with screens or a small fan.
How much does a solid camping car setup cost? A functional core can stay under $400 if you shop carefully. Platforms, better mattresses, and power stations add another $200–400 over time. Spread the cost across trips instead of buying everything at once.
Can I use the same setup for different vehicles? Most of the kitchen, lighting, and organization pieces transfer easily. The sleep system usually needs adjusting to the new cargo dimensions. Measure first.
Is car camping good for beginners? Yes. You keep the vehicle as a backup shelter, carry more comfort items, and stay close to developed sites with toilets and water. Start with one or two nights close to home and refine from there.
The system I use now lets me arrive, set the zones, and sit down with coffee before the light fades. No more aching back. No more hunting for the lighter in the dark. Just a quiet evening under the trees with everything in its place.
Go measure your cargo space this weekend. Build or buy the flat surface. Pack the two kitchen bins. Take one short trip and notice what still feels awkward. Fix that one thing next time.
That is how a real camping car setup grows. One solid night at a time.