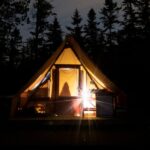
Winter tent camping is less about owning a “winter tent” and more about managing four things at once: wind, ground cold, moisture, and exit options. A well-pitched shelter keeps weather off you. Your sleeping pad and bag keep body heat from leaking into the snow. Dry clothing and ventilation keep insulation working. A conservative campsite and a written plan keep a cold night from becoming an emergency.
Most first winter nights go poorly for the same reasons: people buy a warmer bag and ignore the pad, seal the tent “for warmth,” go to bed damp, or camp in a windy hollow because it looked sheltered. Fix those four mistakes and winter camping becomes a skill, not a gamble.
Packing for a cold night? The winter camping checklist generator adjusts your bag, pad and layers to the forecast low and prints only what you keep.
What “winter tent camping” actually means
The phrase covers several different trips. The gear and risk are not the same.
Car-access winter camping. You drive to a campground or pullout, carry gear a short distance, and can retreat to a vehicle. Many public campgrounds stay open with reduced services. Roads may be unplowed. This is the right first trip.
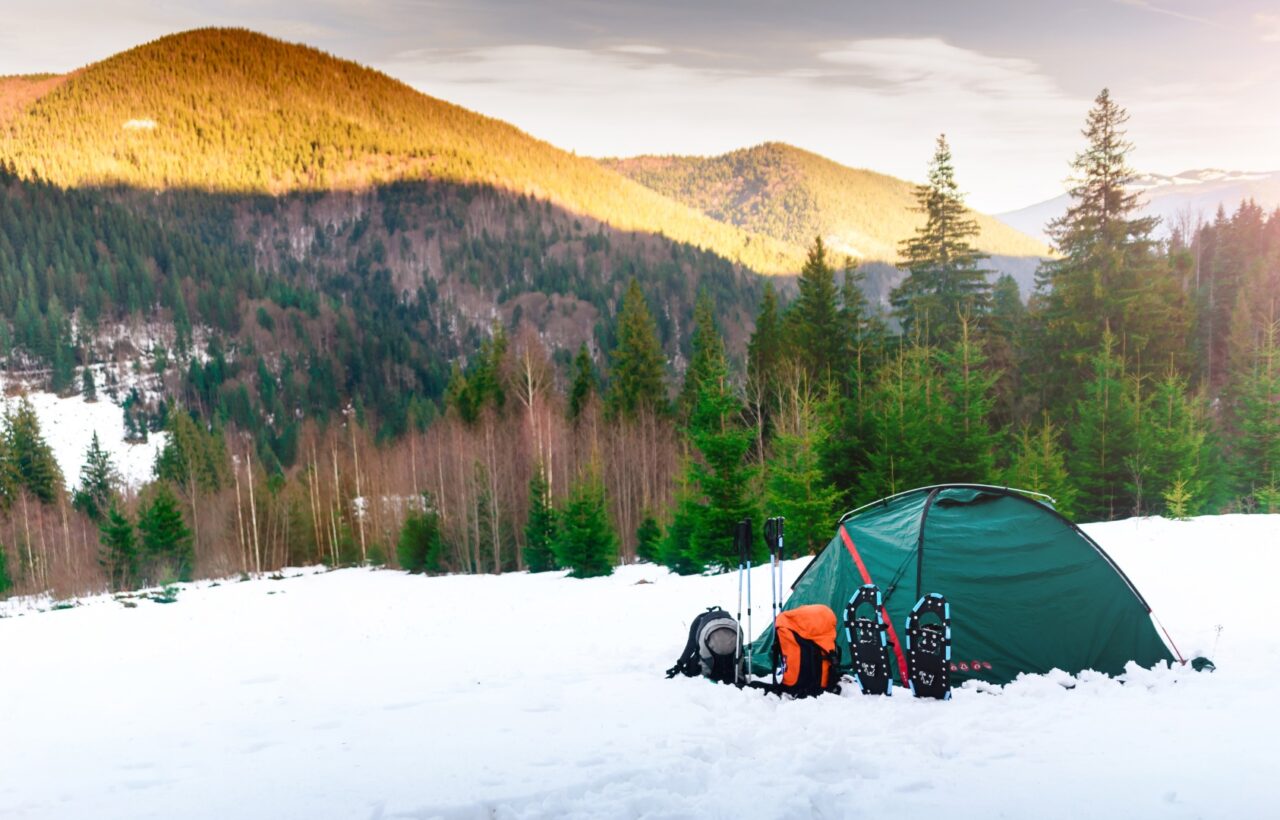
Below-treeline snow camping. You ski, snowshoe, or hike a few miles into forested terrain. Wind is lower. Trees block drifting snow. A strong 3-season tent can work if the forecast is mild and you know how to anchor it.
Exposed or alpine winter camping. You camp above treeline, on a ridge, or in forecast high wind and heavy snow. This is 4-season-tent territory, plus avalanche awareness. It is not a beginner objective.
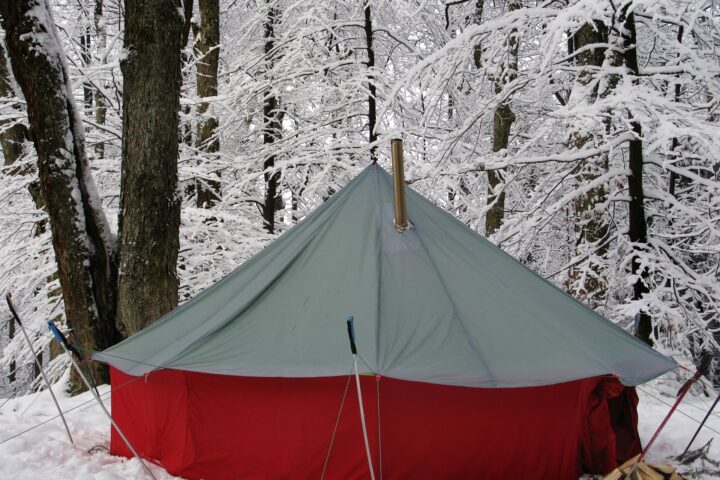
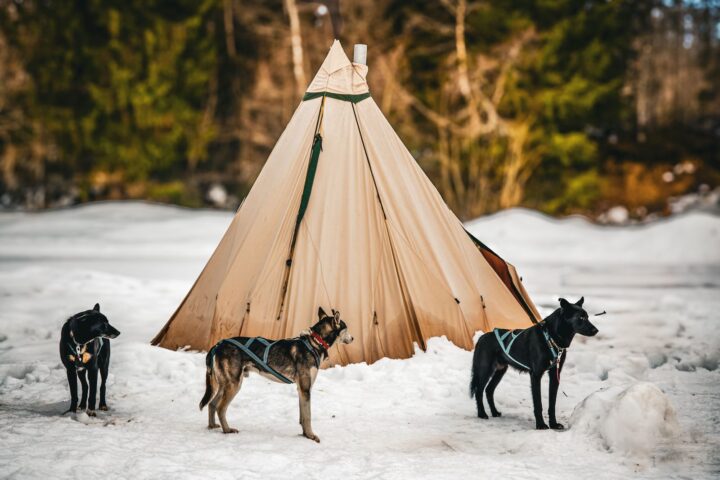
Hot-tent camping. A canvas or stove-jack shelter with a wood stove can be comfortable at very low temperatures. It also adds fire and carbon monoxide risk and is a separate skill set from a nylon backpacking tent.
Decide which trip you are actually taking. A 20°F night in a forested campground is a different problem than a 5°F night on an exposed saddle.
The system that keeps you warm (the tent is not the heater)
A tent does not heat you. It blocks wind and precipitation so your insulation can work. On a still night, interior air is often only a few degrees warmer than the outside air. Your warmth comes from the sleep system and dry layers.
Think in this order:
- Ground insulation. Snow and frozen soil pull heat from your body faster than cold air does.
- Sleeping bag or quilt, used correctly. Ratings assume a pad underneath and dry insulation.
- Dry base layers and a hat. Wet fabric conducts heat away.
- Calories and hydration. Shivering and cold urine both cost warmth.
- Shelter that stays standing and reasonably dry.
If the budget is tight, spend first on a high R-value pad and a bag with a realistic rating. A 4-season tent over a summer pad is a common and expensive mistake.
Choose a tent by conditions, not by the “4-season” label
“4-season” is a marketing category, not a warmth rating. The useful differences are structure and fabric.
| Feature | Typical 3-season tent | Typical 4-season / winter tent |
|---|---|---|
| Purpose | Rain, moderate wind, light snow | Heavy snow, strong wind, spindrift |
| Poles | Fewer crossings; often lighter aluminum | More poles and crossings; stronger aluminum |
| Mesh | Large panels for airflow | Minimal mesh; solid canopy |
| Rainfly | Often stops short of the ground | Reaches the ground; sometimes snow flaps |
| Weight and cost | Lighter, cheaper | Heavier, more expensive |
| Warmth | Similar air temperature inside | Similar air temperature; less draft |
A 3-season tent can work for winter camping when all of these are true: you are below treeline, the forecast is not calling for heavy snow or high wind, poles are aluminum or carbon (not brittle fiberglass), and you can guy it out tightly. That is the consensus from experienced winter backpackers and retailers such as REI.
Use a 4-season tent when you expect snow load, sustained wind, or an exposed pitch. Look for a geodesic or semi-geodesic pole structure, a fly that reaches the ground, multiple guy points, and a vestibule large enough for boots and a stove. Size up one person (a 3-person tent for two) so bulky winter bags and clothing have space without pressing against frosty walls.
Skip fiberglass poles in real cold. They become brittle and can shatter when flexed.
When a hot tent is worth considering
A stove-jack canvas tent can make a basecamp livable in deep cold. It is a poor first choice for a backpacking trip. You need a compatible stove, spark arrestor, stove board, chimney clearance, fuel, and a carbon monoxide alarm. Never treat a backpacking cook stove or a patio propane heater as a substitute.
Build a sleep system that matches the forecast
Sleeping pad R-value matters more than most people think
R-value measures resistance to heat flow. Pad R-values add when stacked. REI’s current guidance is a useful planning baseline: roughly R-4 to R-5.4 for cold nights around 20°F, and R-5.5 or higher for very cold conditions.
A reliable winter setup:
- Closed-cell foam pad on the snow (puncture insurance and extra R-value)
- Insulated air pad or self-inflating pad on top
The foam pad also gives you a sit-pad while cooking so you are not kneeling on snow. If an air pad fails at 2 a.m., the foam layer is the difference between an uncomfortable night and a dangerous one.
Do not use a cheap uninsulated air mattress as your only pad. It is a heat sink.
How to read a sleeping bag rating
Modern bags tested to ISO 23537 (the successor to EN 13537) list three numbers:
- Comfort: the temperature at which a standard “cold sleeper” can rest in a relaxed posture without feeling cold
- Limit (lower limit): the temperature at which a standard “warm sleeper” can stay in equilibrium curled up
- Extreme: a survival number. Do not plan a trip around it
Use the comfort rating if you sleep cold, are new to winter camping, or will be tired and slightly damp. Use the limit rating only if you sleep warm and the rest of the system is solid. Many experienced campers also buy 10–15°F of buffer below the expected overnight low because ratings are measured on a dry mannequin in a lab, not after a day of sweating in a tent.
Down is warmer per ounce when it stays dry. Synthetic keeps more loft when damp. In winter, protect down with a tent that manages condensation and keep wet clothing out of the bag.
Small additions that actually help
- Sleep in a dry base layer and socks reserved for night. Day clothes are often damp.
- Wear a hat or balaclava. A lot of heat leaves through an uncovered head and neck.
- Fill a hard-sided bottle with hot water, seal it fully, and place it in the bag near the core or feet. Check the cap twice.
- A bag liner can add a few degrees and keep the bag cleaner. It will not rescue an undersized bag.
- Eat a calorie-dense dinner and a small snack before bed. Your body is the heat source.
Go to bed warm. Do a few minutes of gentle movement outside the bag, then get in. Climbing into a bag already shivering is much harder to reverse.
Pick a site that works with winter, not against it
Good winter sites share the same traits: low avalanche exposure, wind protection, no overhead hazards, and a surface you can pack flat.
Avoid avalanche terrain. Slides commonly release on slopes of about 30–45 degrees, and a gentle bench can still sit in a runout from a slope above. Dense trees, broad low-angle ground, and valley floors well away from steep open slopes are safer choices for beginners. Check the local avalanche forecast before you leave if you are anywhere near mountain snowpack.
Avoid hollows and lake edges. Cold air sinks. A pretty depression can be several degrees colder than a slight rise 50 yards away.
Use a windbreak. A tight stand of trees or the lee of a small rise is better than an open meadow. Do not camp under widow-makers (trees with hanging dead limbs) or under cornices.
Stay 200 feet from water when possible, following Leave No Trace. In winter, snow can make site choice easier if the pack is deep enough to protect vegetation underneath. AMC and other LNT trainers treat roughly 6–8 inches of snow as a more durable surface, and still ask campers to keep distance from trails and water.
Know your exit. Shorter days, deeper snow, and closed roads change the timeline. Tell someone your route, expected return, and what to do if you do not check in.
How to pitch a tent on snow
Regular stakes often pull out of unpacked snow. Pitching is a sequence.
- Choose the platform first. Stamp an area larger than the tent with snowshoes or boots. Walk it until the surface is firm. Soft snow will settle overnight and leave the floor sagging and the fly touching the inner tent.
- Wait a few minutes if you can. Packed snow hardens as it sinters, especially in cold, dry conditions.
- Orient the smallest face into the wind when the design allows it. Point the door away from drifting snow if possible.
- Pitch taut. A slack fly collects snow, flaps, and condenses. Use every guy point.
- Anchor with deadmen or snow stakes. A deadman is a buried object: a stick, ski, stuff sack filled with snow, or a dedicated snow stake laid horizontally. Dig a trench, attach the guyline at the midpoint of the object, bury it a foot or so deep, and pack the snow. After it sets, it holds far better than a vertical summer stake.
- Dig the vestibule down, not the sleeping floor. A lower vestibule becomes a mudroom for boots and a cooking porch (stove stays outside the inner tent). Keep anchors undisturbed while you shovel.
- Clear snow off the fly during storms. A 4-season tent is built for load. It is not built to be ignored under a wet dump.
Practice deadman anchors at home with a stuff sack and a backyard pile of snow or even loose soil. Gloves make knots clumsy. You want the motion memorized.
Condensation is the hidden winter problem
A sleeping person releases a large amount of water vapor overnight through breath and skin. In a sealed tent that moisture hits a sub-freezing wall, turns to frost, and then drips onto the bag when the tent warms in the morning. Wet down loses loft. Wet synthetic still works better, but the night still gets colder.
You cannot eliminate condensation. You can keep it off the sleep system.
- Leave a high vent cracked even when it feels wrong. Upper vents let moist air out with less heat loss than a wide-open door.
- Keep the inner tent and fly from touching. A taut pitch creates the air gap that makes double-wall tents useful.
- Store wet layers in the vestibule, not in the bag.
- Brush frost off the inner wall in the morning before it melts.
- Do not cook inside the sleeping compartment. Steam belongs outside.
- Avoid camping in a damp, windless hollow if you have another option.
Single-wall alpine tents are lighter and more condensation-prone. They can be the right tool for experienced users who manage vents constantly. They are a poor first winter tent.
Clothing: stay dry first, warm second
Cotton holds water and stays cold. Use a simple three-layer system:
- Base: merino or synthetic next to skin. Change it if it is soaked with sweat.
- Mid: fleece or light puffy. This is adjustable warmth.
- Shell: windproof, waterproof jacket and pants. Snow is wetter than it looks when you are kneeling and shoveling.
Carry spare gloves. Wet gloves are one of the fastest ways to lose function in your hands. A thin liner glove under a waterproof mitt lets you cook and handle zippers.
Boots should be insulated and roomy enough for winter socks without crushing circulation. Gaiters keep snow out of cuffs. Sunglasses or goggles matter on bright snow; sunburn and snow glare are winter problems, not summer-only ones.
The goal during the day is not maximum warmth. It is no sweat. Open a zipper before you overheat on the approach. Moisture you generate at 2 p.m. is the moisture that chills you at 2 a.m.
Food, water, and fuel in the cold
You burn more calories in winter: travel is slower, you carry more weight, and your body heats the bag. Plan denser food than a summer menu — fats and complex carbs, plus a hot dinner you will actually eat when you are tired.
Hydration is easy to neglect because you feel less thirsty. Dehydration makes you colder and more prone to altitude and fatigue problems. If streams are frozen, you will melt snow.
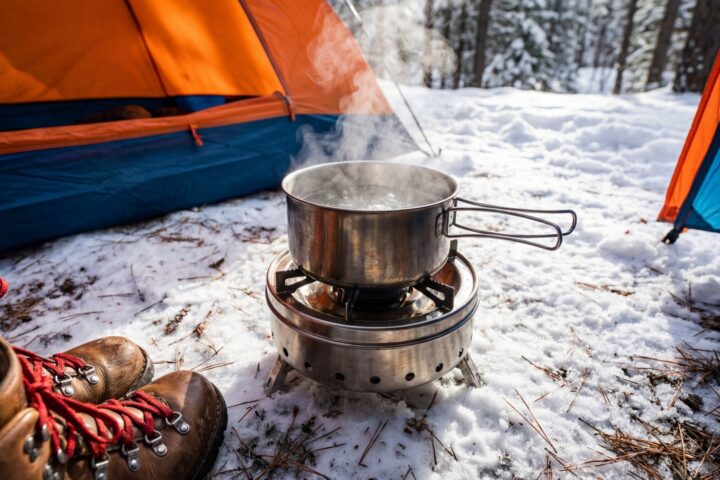
Melting snow uses far more fuel than boiling stream water. Start with a little liquid “seed water” in the pot so the snow does not scorch. Use a wide pot. Keep a stove base (a piece of wood, a closed-cell foam square covered to resist heat, or the back of a shovel) so the stove does not melt a hole and tip.
Stove choice:
- White-gas liquid-fuel stoves are the traditional winter workhorses. They run in deep cold and are efficient for melting lots of snow.
- Canister stoves can work in mild winter if they have a pressure regulator and you keep the canister warm (jacket pocket, not an open flame). Upright canisters lose pressure as they cool.
- Bring extra fuel. Wind, cold canisters, and snow melting can double or triple summer consumption.
Store water bottles upside down if they might freeze. Ice forms at the top first; an inverted bottle still pours. An insulated bottle or a bottle inside a sock in the bag overnight prevents a solid block in the morning.
Safety lines you should not cross
Winter camping has a higher cost of small errors. Treat these as hard rules.
Carbon monoxide. The CDC is explicit: do not use a charcoal grill, lantern, or portable camping stove inside a home, tent, or camper. Opening a door is not a reliable fix. A purpose-built hot tent with a chimney is a different system. An ordinary cook stove in a nylon tent is not.
Hypothermia. Persistent shivering, clumsy hands, slurred speech, confusion, or “I just need to sit down” are warnings. Get the person out of wind, replace wet layers, add insulation, give warm (not scalding) drinks if they are alert, and end the trip if symptoms are more than mild shivering that stops after you add layers and calories.
Frostbite. Numb, white, or waxy skin on fingers, toes, nose, or ears needs immediate warming against a body and a change of plans. Do not rub snow on it.
Batteries and light. Lithium batteries handle cold better than alkaline. Keep a headlamp and spare cells in an inside pocket. Winter nights are long.
Navigation. Trails disappear. Carry a map, compass, and a charged phone or GPS in a warm pocket, plus a way to navigate if the screen dies.
Turn-around criteria. Write them before you leave: wind speed, temperature, visibility, time of day, gear failure, anyone starting to shiver uncontrollably. Pride is a poor stove.
Where first winter nights go cold and wet
Buying a huge tent “for comfort.” Extra volume is extra air to heat with your body and extra fly for wind to grab. Size up one person for gear, not three.
Trusting the number on the bag and ignoring the pad. Most “I was cold in a 0°F bag” stories are pad stories.
Sealing every vent. You trade a little warmth for a wet bag.
Going to bed in the clothes you hiked in. Change.
Cooking in the inner tent. Steam and CO risk.
Pitching on unpacked powder. The floor sags, the fly touches the inner, and stakes pull out.
Camping under a slope because the trees look pretty. Check what is above you.
No spare gloves, no repair kit, no plan to leave. Zippers freeze. Poles snap. People get tired.
A sensible first winter tent camping trip
Keep the first night close to help.
- Pick a forecast with lows in the 20s°F if you are new, not single digits.
- Use a forested campground or a short snowshoe from a plowed lot.
- Bring the dual-pad system and a bag with a comfort rating below the forecast low.
- Practice the pitch in the yard, including deadman anchors and glove work.
- Arrive with enough daylight to stamp a platform, cook, and rewarm before dark.
- Pack a retreat: extra layers in the car, a charged phone, and a willingness to sleep in the vehicle if the tent pitch fails.
After one controlled night, you will know whether your bag is honest, whether your stove lights with gloves on, and whether condensation is a problem in your specific tent. That information is worth more than another product review.
Frequently asked questions
Can you use a 3-season tent for winter camping? Yes, in mild, below-treeline conditions with aluminum or carbon poles, a tight pitch, and a real winter sleep system. Switch to a 4-season tent when snow load, high wind, or an exposed site is likely.
How cold is too cold for tent camping? There is no single number. Beginners with typical 3-season gear should treat nights below about 20°F as a step up in seriousness, not a casual weekend. Experienced campers with expedition bags, high-R pads, and winter tents camp far colder. The limiting factor is usually moisture, wind, and your ability to stay dry and functional, not the thermometer alone.
Do I need a tent heater? No. A correct sleep system is the standard method. Fuel heaters in ordinary tents create carbon monoxide and fire risk. If you want stove heat, use a shelter and stove designed as a hot-tent system and learn that setup separately.
Should I size the tent up or down? Size up one person so winter bags and boots fit without touching walls. Do not jump to a cavernous family tent unless you are car camping and can accept more drafts and a harder pitch.
Is a quilt okay in winter? A quilt can work for people who already sleep warm and who use a warm pad plus a jacket or draft collar. Most beginners are better served by a hooded bag that traps heat around the head and neck.
What if it snows all night? A taut 4-season tent and regular fly checks matter. Knock off accumulation. Keep the door and vents from burying. Have a plan to pack a wet tent in the morning — a large trash compactor bag or robust stuff sack helps.
Winter tent camping rewards preparation more than toughness. The people who enjoy it are not immune to cold. They stop heat loss at the ground, keep insulation dry, pick boringly safe sites, and leave themselves a way out.