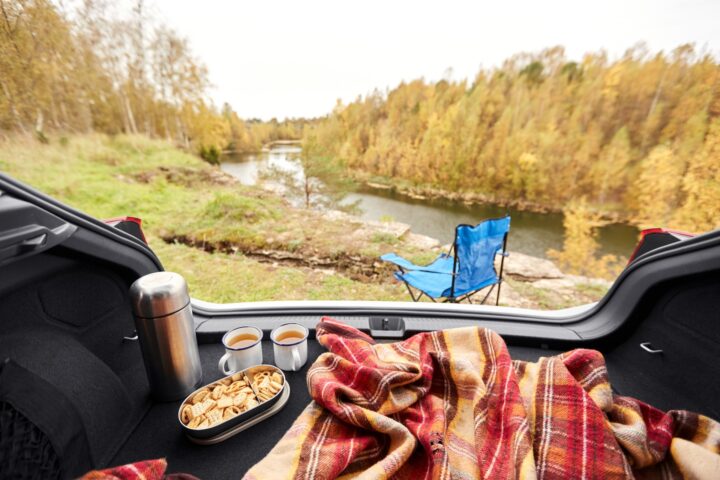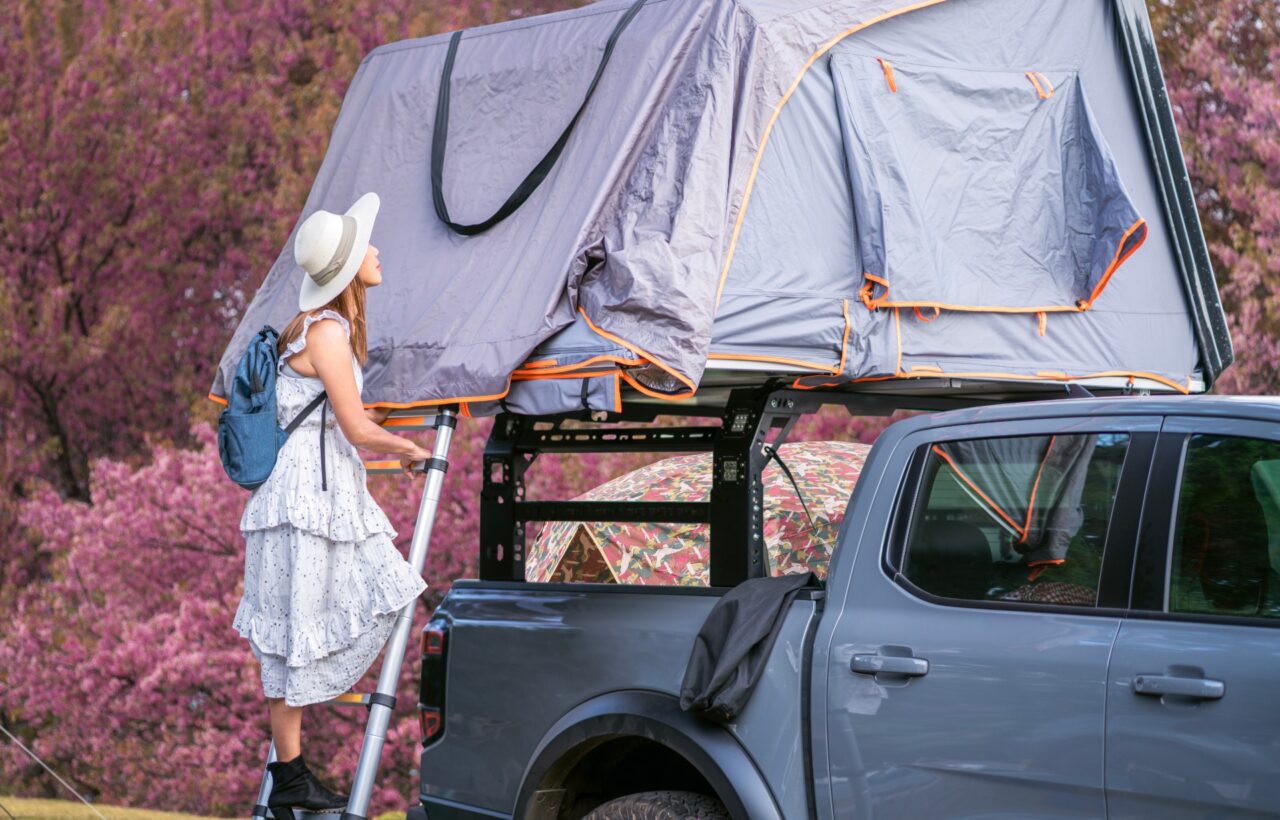

I used to crawl through a jumble of bags every time I needed a headlamp. My first real car camping trip in a 2018 Subaru Outback left me digging for 20 minutes just to find the stove lighter. That chaos ended once I locked in these 15 car camping storage ideas. They turned my cargo area into something I can actually live with for a weekend or longer.
Honestly? Most of the wins came from cheap stuff I already owned or grabbed for under $50. See, the goal is not fancy. It is quick access and less frustration when the sun drops.
1. Over-the-Seat Shoe Organizer
I hang a basic over-the-door shoe organizer on the back of the front seats. The mesh pockets hold flashlights, snacks, chargers, sunscreen, and maps. Everything stays visible and off the floor.
I picked up a Gorilla Grip version for about $15. It has 24 pockets and stays put even on bumpy forest roads. No more dumping the entire glove box at dusk.
This one change alone cut my setup time by half on a three-day trip last spring.
2. Tension Rod with S-Hooks
A $9 spring-loaded tension rod from Walmart spans the width of my trunk. S-hooks hang from it for lanterns, jackets, snack bags, and the first-aid kit.
The bins underneath stay clear. I reach up instead of digging down. The same rod has lasted two full seasons without slipping.
I keep the hooks in a small pouch so I can set the whole thing up in under two minutes.
3. Command Hooks on Walls and Ceiling
Command hooks stick to interior plastic and fabric without leaving marks. I use them for hats, towels, keys, sunglasses, and small gear pouches.
They come off clean when the trip ends. A four-pack runs about $6 and gives me eight hanging spots.
I once hung a wet dish towel from one overnight. It dried by morning and never dripped on the sleeping pad.
4. Stackable Hard-Sided Bins
Rubbermaid ActionPacker 35-gallon boxes are my workhorses. Each one costs around $45 and shrugs off drops, rain, and dirt.
I assign one to kitchen gear, one to tools and recovery items, and one to clothing. They stack tight and the latches keep everything inside during hard turns.
On a muddy trip near Bend, Oregon, these bins stayed clean while the rest of the car looked like a disaster.
5. Clear See-Through Plastic Bins
Clear bins let me see what is inside without opening lids. I use medium-sized ones from Target for about $8 to $12 each.
Cooking tools go in one. Dry food stays in another. I can spot the right bin from the hatch and grab it in seconds.
This beats opaque totes every time. No more guessing which black box holds the coffee.
6. Magnetic Spice Tins
I emptied my regular spice jars into small magnetic tins. They stick to the inside of the metal door panels or the side of the cooler.
Salt, pepper, garlic powder, and chili flakes sit right where I cook. No bulk, no searching.
A set of six tins cost me $12 online. Labeling them with a permanent marker keeps the system foolproof.
7. Roof Cargo Bag or Box
When the trunk fills up I strap a $40 waterproof cargo bag to the factory roof rails. Sleeping bags, pillows, and extra clothes go up top.
It frees the entire rear floor for bins and the cooler. The bag stays weatherproof even in light rain.
I tested it on a windy pass in Colorado. Nothing shifted and fuel economy barely dropped.
8. Two-Bin Kitchen System
One clear bin holds the stove, skillet, utensils, oil, and foil. The second holds the collapsible basin, soap, sponge, and trash bags.
Both came from Target for under $40 total. They stack and pull out as a ready-to-cook unit.
I never mix dirty cleanup gear with clean cooking tools anymore. Setup takes three minutes once the bins hit the picnic table.
9. Seatback Organizers
A simple seatback organizer hangs behind the passenger seat. Pockets hold the headlamp, notebook, snacks, and charging cables.
I reach everything from the driver’s seat without twisting. The organizer costs about $20 and folds flat when not needed.
On solo trips this becomes my daytime command center.
10. Compression Sacks for Soft Gear
Compression sacks shrink sleeping bags, jackets, and extra clothes to half their normal size. I use 20-liter ones in different colors.
Green for sleeping gear. Yellow for clothes. They stack neatly between the hard bins.
One sack cut the volume of my winter layers enough to fit a second water jug.
11. Color-Coded Dry Bags
I switched to 10- to 20-liter dry bags in bright colors for food and daily items. Orange holds breakfast. Blue holds dinner. Red holds snacks.
I know exactly which bag to grab without reading labels. They also keep contents dry if the cooler leaks.
This system saved me from a soaked pasta bag on a rainy weekend in the Cascades.
12. Dedicated Sealed Trash Container
A vacuum-seal food container or a lidded bin keeps trash smells locked in. I line it with a grocery bag and empty it daily.
Mine is a Better Homes & Gardens Flip-Tite style that cost under $10. It sits near the hatch for easy access.
No more open bags attracting ants or stinking up the sleeping space overnight.
13. Under-Platform or Modular Drawers
If you build a simple sleeping platform, leave space underneath for shallow drawers or sliding bins. I use two plastic drawer units that cost $25 each.
One drawer holds tools and recovery gear. The other holds clothing. Full-extension slides let me pull everything out without crawling.
This keeps the sleep surface clear and the heavy items low for better vehicle balance.
14. Collapsible Gear Boxes
Collapsible boxes like the Rux 70L fold flat when empty and expand when full. They work for mixed gear that changes trip to trip.
I load kitchen overflow or camp chairs into one and collapse it for the drive home. The handles make carrying easy.
At around $100 it is pricier than basic bins, but the flexibility pays off on multi-stop trips.
15. Layered Packing by Access Priority
I load the car in reverse order of need. Sleeping gear goes deepest. Kitchen and chairs sit closest to the hatch. Daytime items live in door pockets and seat organizers.
Heavy bins stay on the floor. Soft gear rides higher. This layout means I unpack only what I need when I arrive.
On a recent four-night trip I never once moved a sleeping bag to reach the stove.
These 15 car camping storage ideas grew out of real messes and real fixes. None of them require a full vehicle build. Most cost less than a nice dinner out.
Frequently Asked Questions
What are the cheapest 15 car camping storage ideas that still work well? Focus on the shoe organizer, tension rod, Command hooks, clear bins, and two-bin kitchen system. You can set all five up for under $80 total and still feel organized.
Do I need a roof rack for extra storage? Not always. A soft cargo bag that straps to existing roof rails works for light bulky items. Hard boxes need a proper rack, but the bag is enough for most weekend trips.
How do I keep food separate from dirty gear? Use dedicated clear bins and color-coded dry bags. One bin for cooking tools only. Another for pantry items. Never mix the two.
Will these ideas work in a small sedan? Yes. Scale down the bin sizes and lean harder on the seat organizers, magnetic tins, and compression sacks. Vertical space becomes your best friend.
How often should I reorganize the system? I reset the bins and hooks before every trip. A five-minute check at home prevents the mid-trip scramble.
Start with three or four of these and add more as you learn your own patterns. Your car will thank you. More important, you will spend less time hunting for gear and more time actually camping.