The back of an ordinary car was never designed for sleeping or cooking. Seat hinges press into your hips, gear slides around, and finding anything after dark becomes a search. Good car camping setup ideas solve those problems without expensive gear or a custom build.
The 16 setups below start with a raised sleeping platform and a real mattress, then move to the campsite around the car: where to park and point the hatch, the kitchen, light, shade, a rain plan, fire safety and a few small habits that keep the interior clean over a weekend.
1. Raise a Simple Sleeping Platform
A simple platform can be built from three pieces of half-inch plywood cut to the cargo floor, with 2×4 legs, for modest cost at a hardware store. Raised about 8 inches off the floor, it lets bins slide underneath. A flat surface means no more hip bones grinding against the spare tire hump. With the rear seats folded, the platform can stay in place between trips, and the space under the bed holds the cooler and two kitchen bins without any midnight digging.
2. Swap the Thin Pad for a Real Mattress
Thin backpacking pads belong on the trail. In the car, a 3-inch memory foam topper cut to 54 by 72 inches is far more comfortable. A full sheet from a mattress outlet trims cleanly with an electric knife. The difference is night and day for a sore lower back. Pair it with a 20-degree sleeping bag and a regular pillow from home. That combo can cost less than one fancy camping quilt and feels much closer to a real bed.
Place a cheap moving blanket under the 54 by 72 topper to block cold and moisture rising from the car floor overnight.
3. Level the Car Before You Unpack
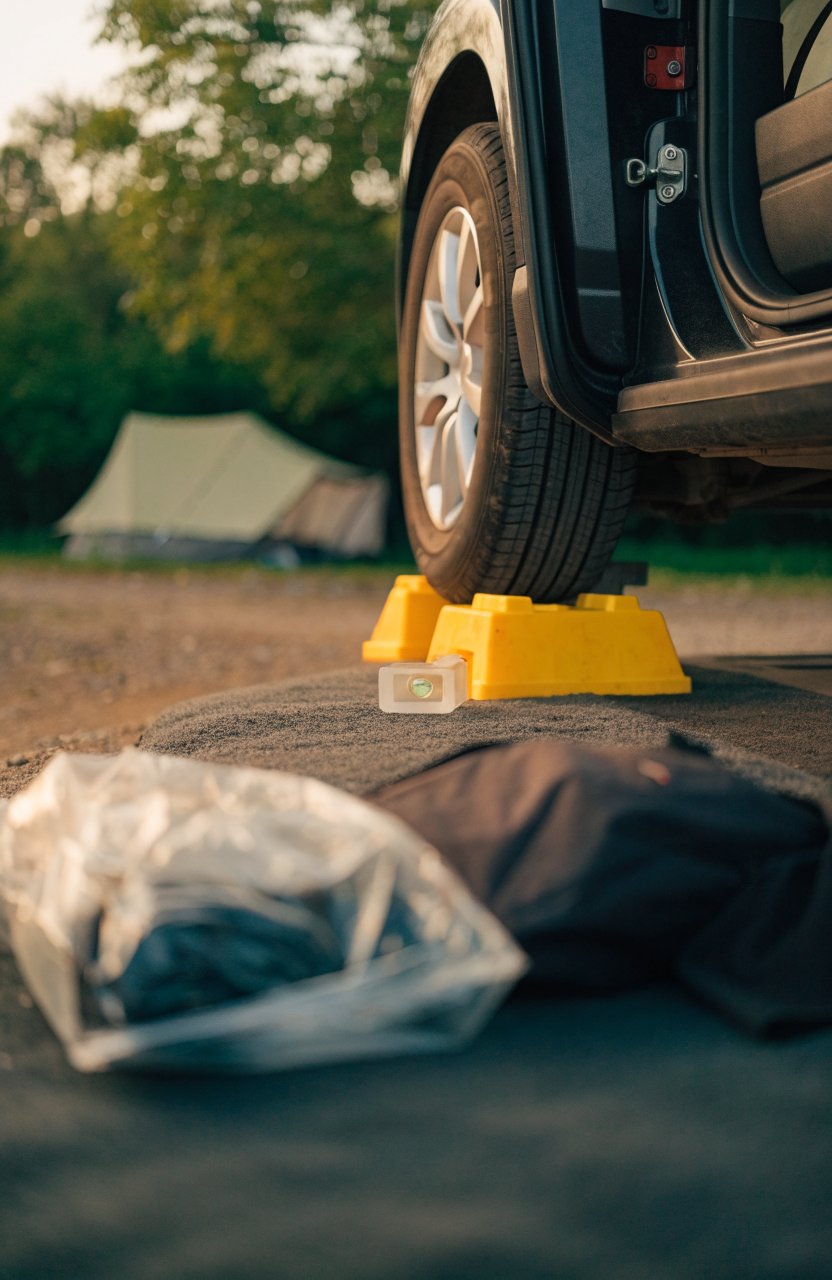
A slope you barely notice while parking feels steep once you lie down. Before anything comes out, check the cargo floor with a small bubble level or a level app on your phone. If it tilts, drive one side onto plastic leveling blocks or move to a flatter part of the pad. If you cannot get it perfect, sleep with your head on the higher end.
4. Point the Hatch Away From the Wind
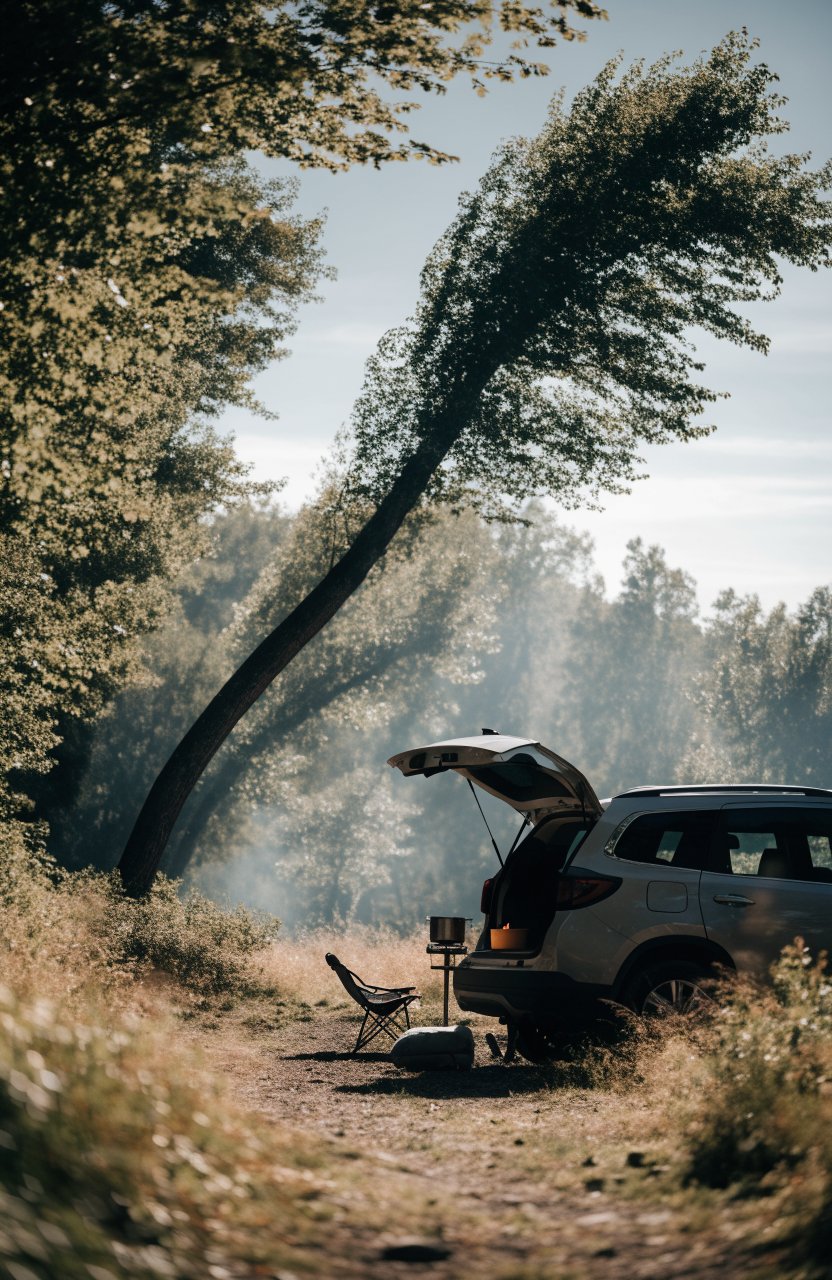
The direction the car faces decides how the whole campsite works. Park so the open hatch faces away from the prevailing wind, which keeps the stove lit and dust out of the bed. If you can, put the sleeping end where it will be shaded in the morning so the car does not heat up at sunrise.
5. Set Up a Hand-Washing Station
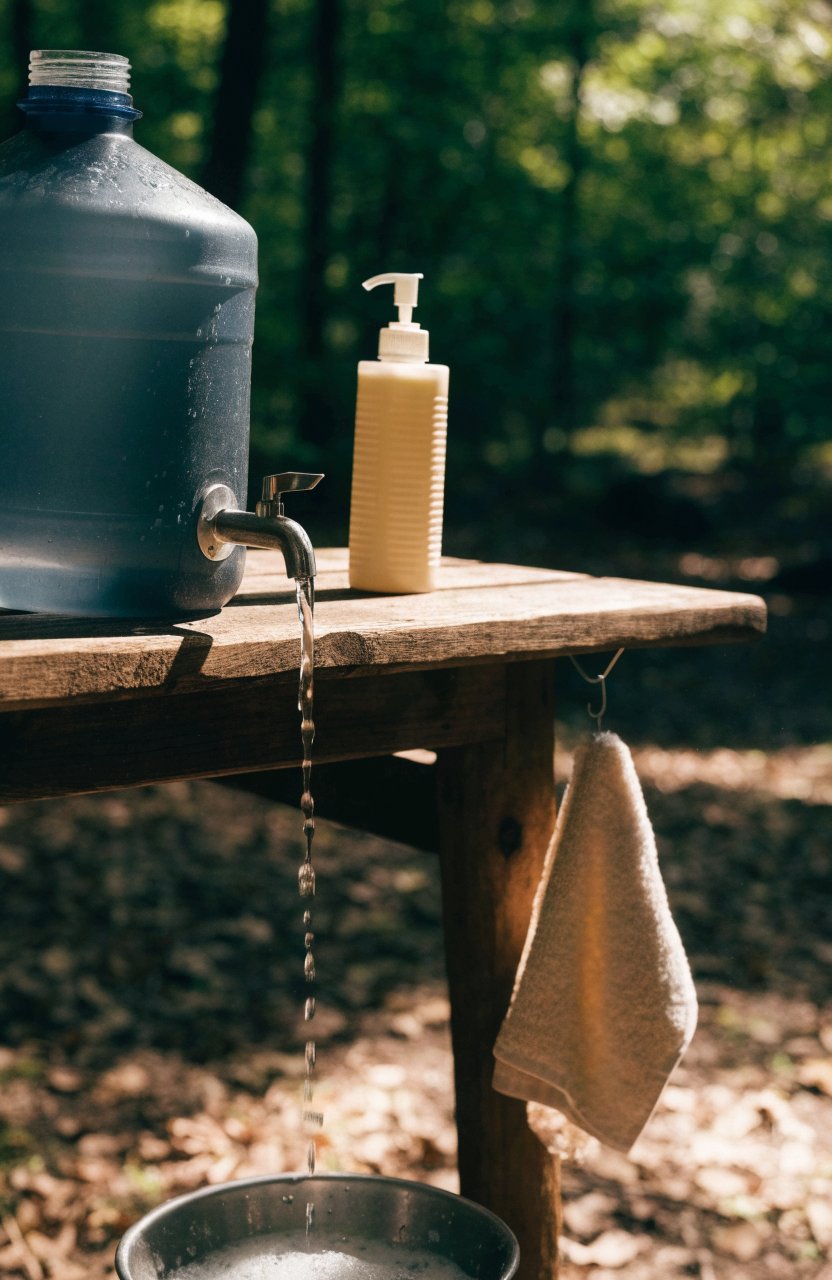
A water jug with a spigot on the edge of the table, a pump bottle of biodegradable soap and a small towel on a hook make the camp kitchen far more hygienic. Put a bucket or basin under the spigot to catch the gray water, so the ground around the table does not turn to mud by the second day.
6. Stake a Lantern Hook Beside the Kitchen
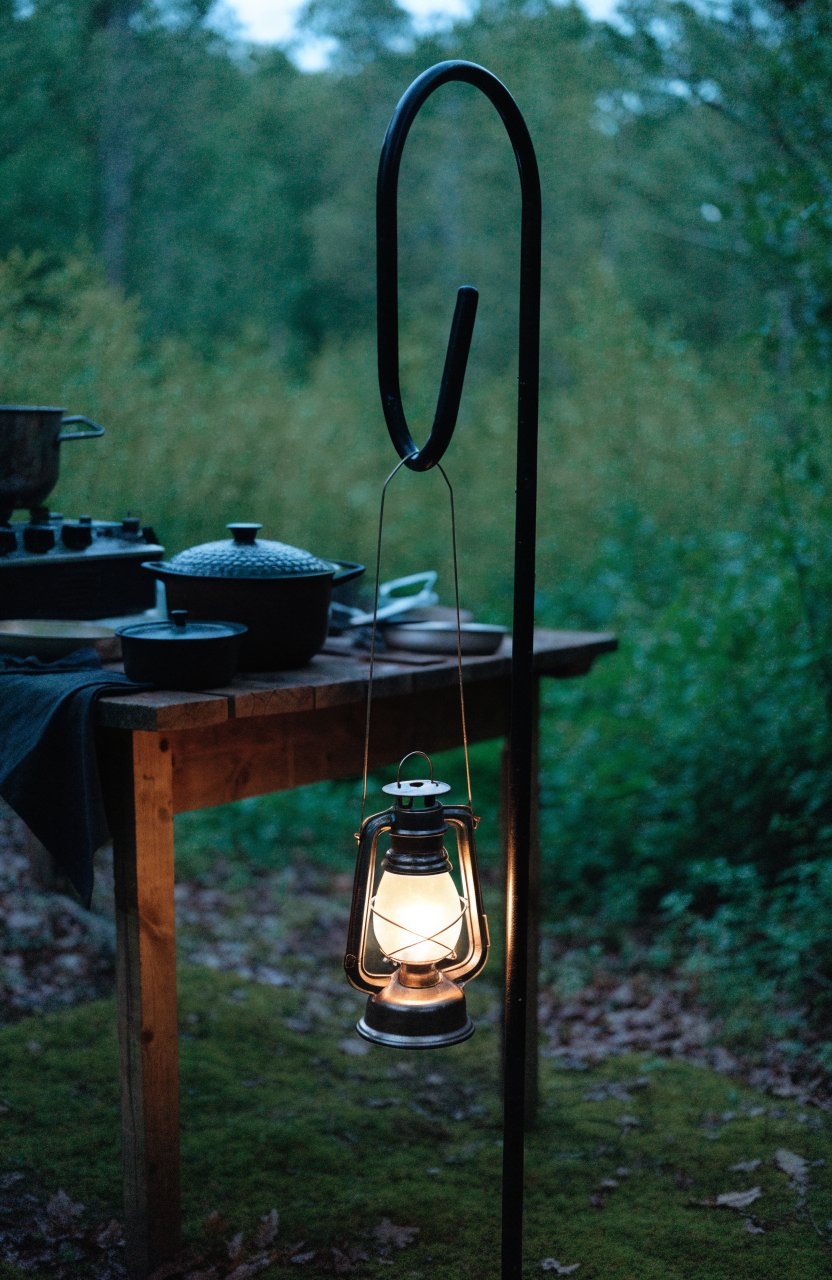
A garden shepherd’s hook pushed into the ground next to the table holds a lantern at head height over the cooking area. Light spreads across the whole kitchen instead of glaring up from the table, and the lantern stays clear of pots and plates. On hard ground, a hook that clamps to the table edge does the same job.
7. Designate Zones Before You Unload
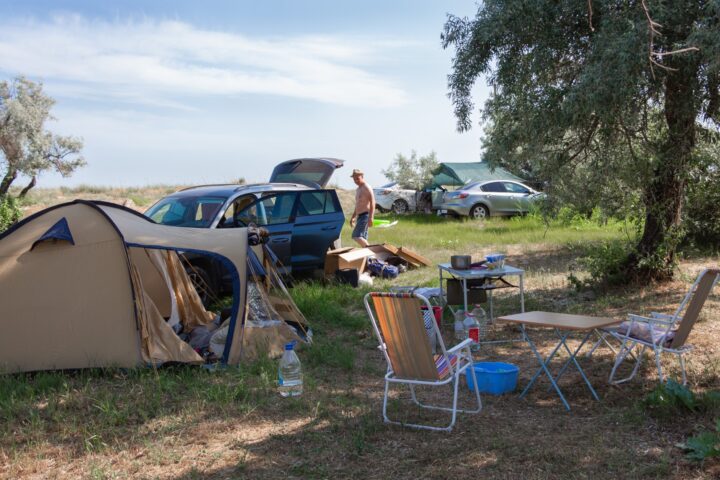
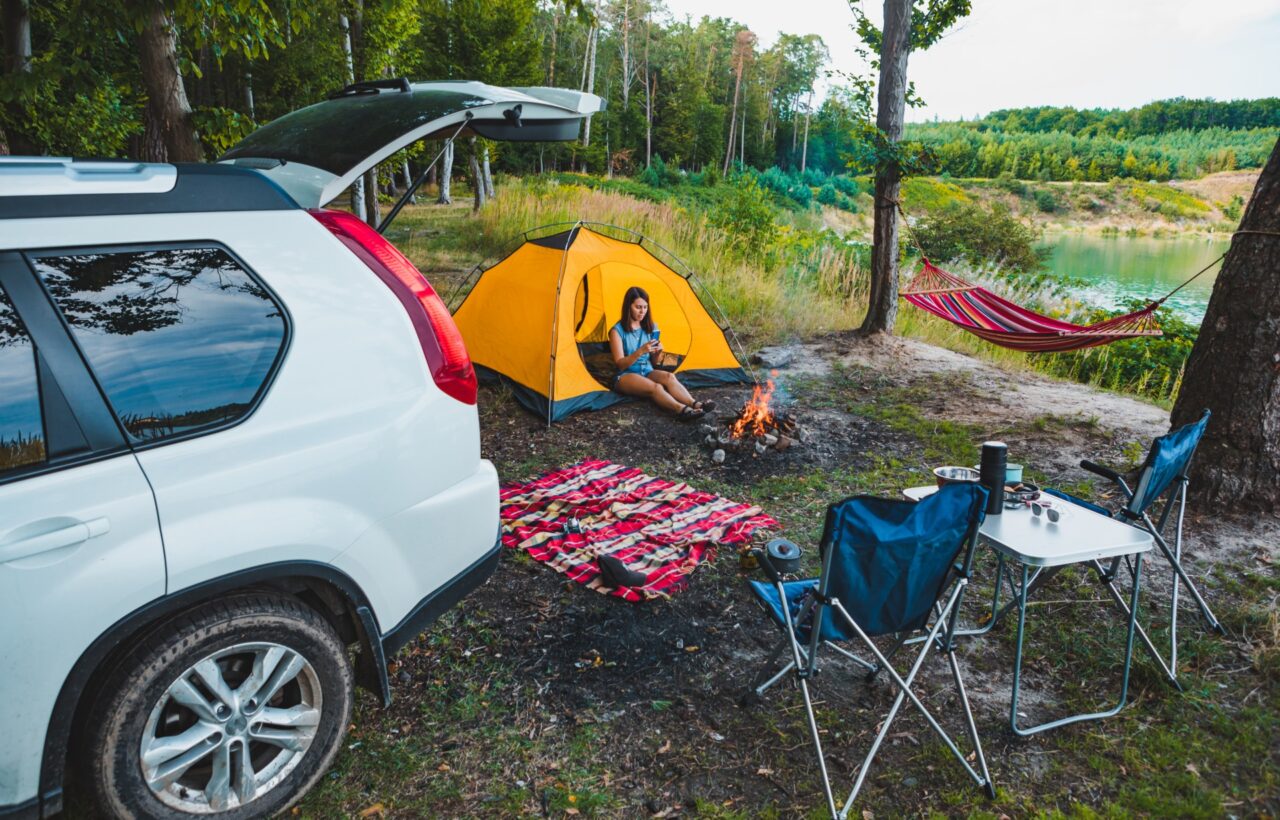
Park, walk the site once, and pick three spots: kitchen next to the tailgate, tent or chairs on the flattest ground, and fire ring downwind. That 30-second plan stops the usual scramble of moving the stove three times, and it keeps the cooking area sheltered when rain moves in. The habit costs nothing and saves a lot of rearranging every night.
8. Set a Folding Table Beside the Tailgate
Cooking on the tailgate itself ends in spills. A folding table such as the Ozark Trail model, around $35, levels on uneven ground and holds the stove plus a cutting board. Stage ingredients on the open tailgate and cook on the table. Look for legs that lock solidly. The table folds flat against the platform when not in use.
9. Add a Pop-Up Canopy for Outdoor Living
A 10-by-10 Ozark Trail canopy runs about $60 and sets up in three minutes. Stake it every time, even if the sky looks clear. It gives shade for the kitchen and a dry place to sit when the weather turns, so the stove and chairs stay usable through a rainy weekend. Many campers simply leave it in the car year-round.
10. Keep the Cooler in Shade and Off the Ground
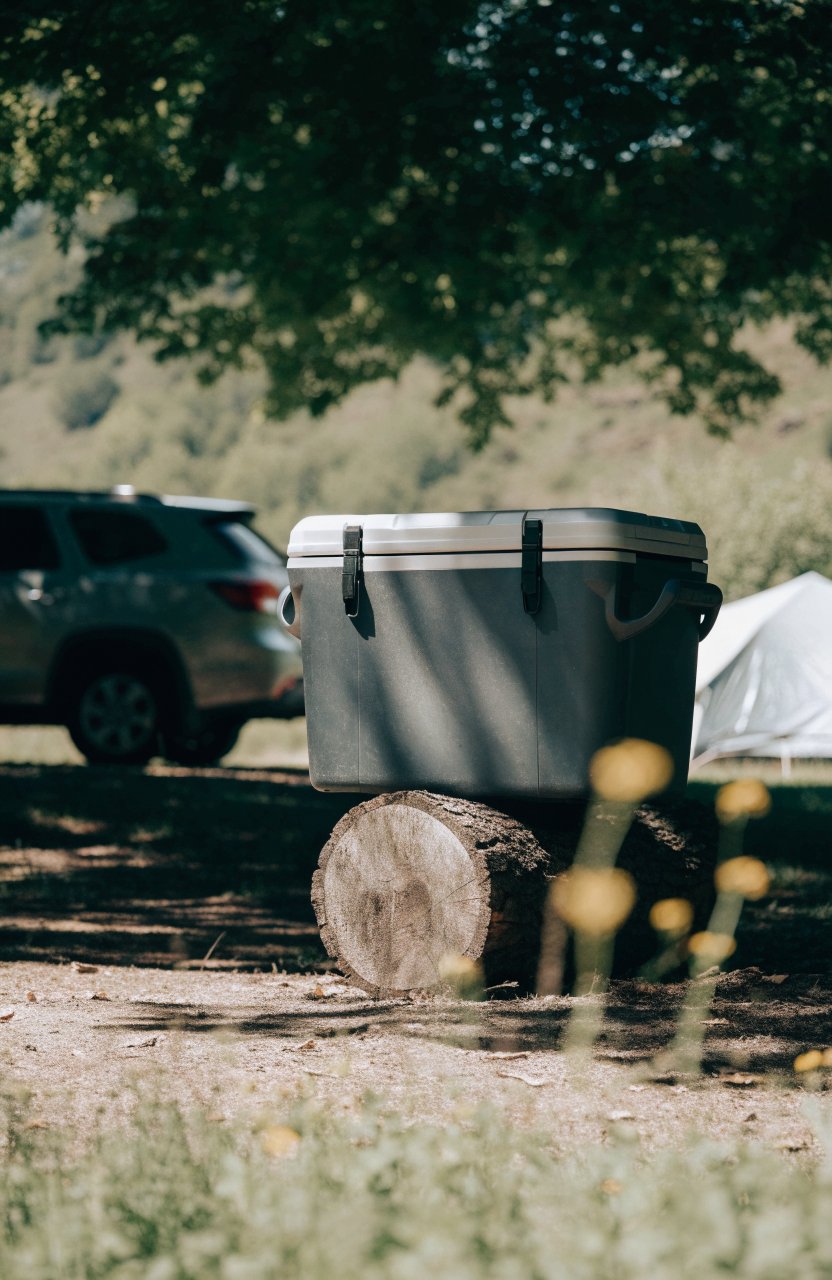
Where the cooler sits matters as much as how it is packed. Put it in full shade, watching where the afternoon sun will move, and raise it off hot ground on a small stand, a log round or an upturned bin. Open it as little as possible, and when you move it, keep it on the shady side of the car.
11. Make the Bed Before Dark
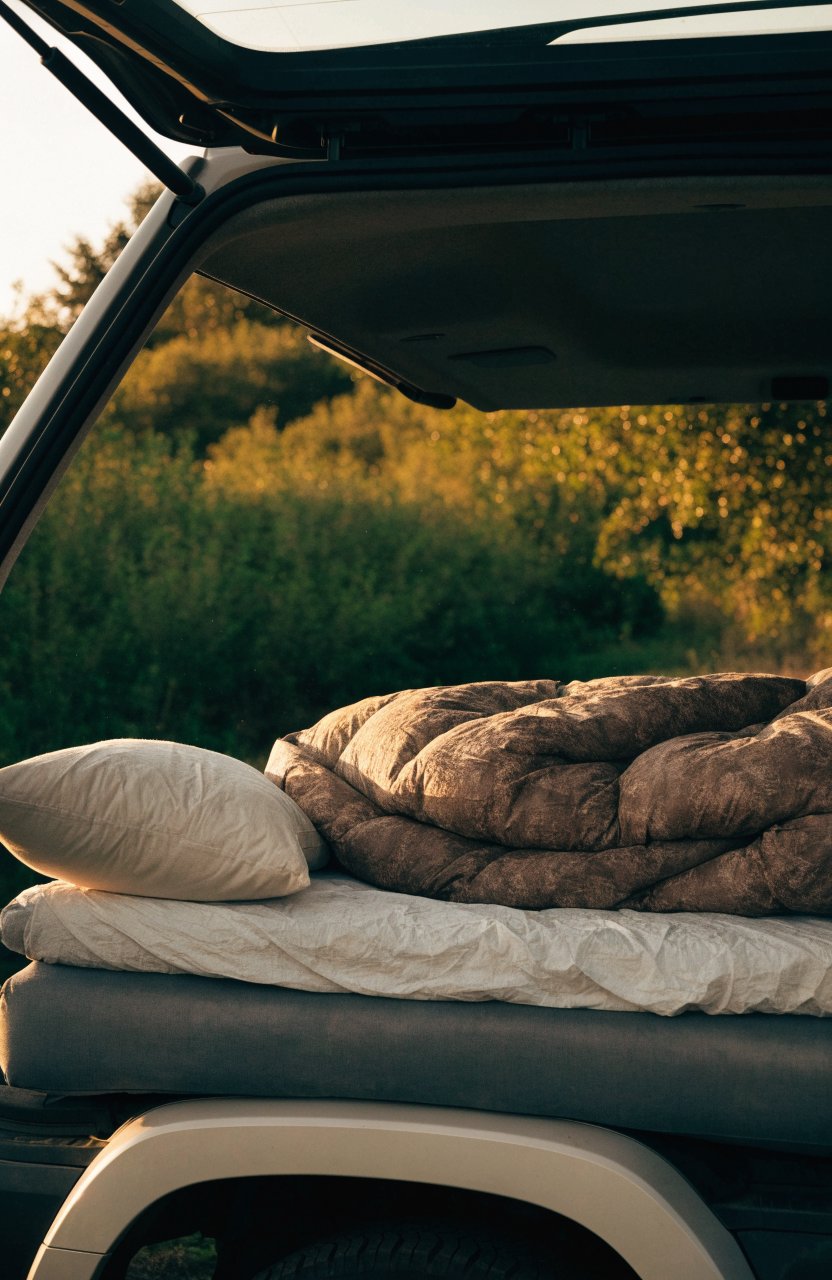
Setting up the sleeping area by headlamp is how pillows end up in the cooler and bags get unrolled on top of gear. As soon as the car is level, lay out the mattress, sheet, sleeping bag and pillow while there is still daylight. After dinner the bed is ready and nothing has to move.
12. Plan a Rain Layout Before You Need It
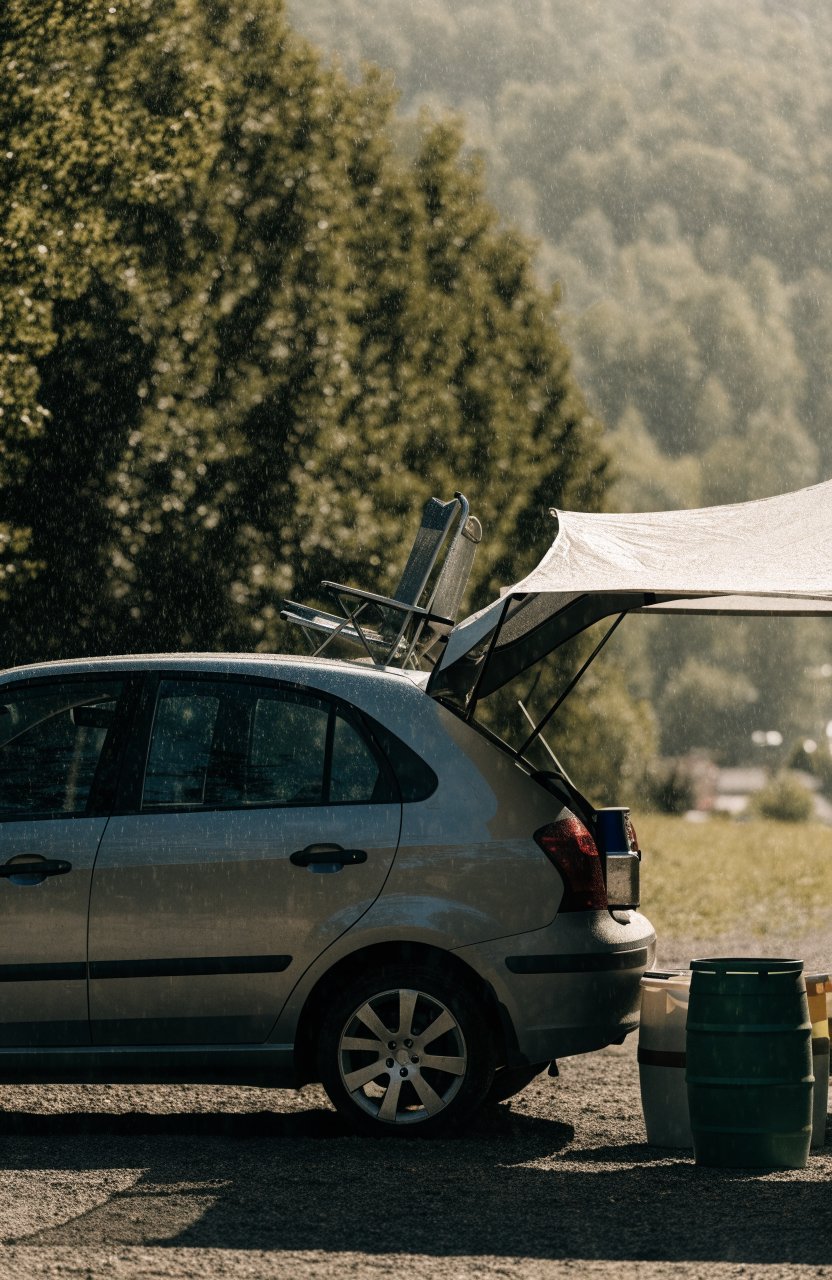
Decide on arrival where everything goes if the weather turns: the stove under the canopy or the hatch, chairs against the car, bins back inside, and dry clothes sealed on the front seat. When the first drops hit, everyone already knows the plan and nothing important gets soaked in the scramble.
13. Set Up a Morning Coffee Station
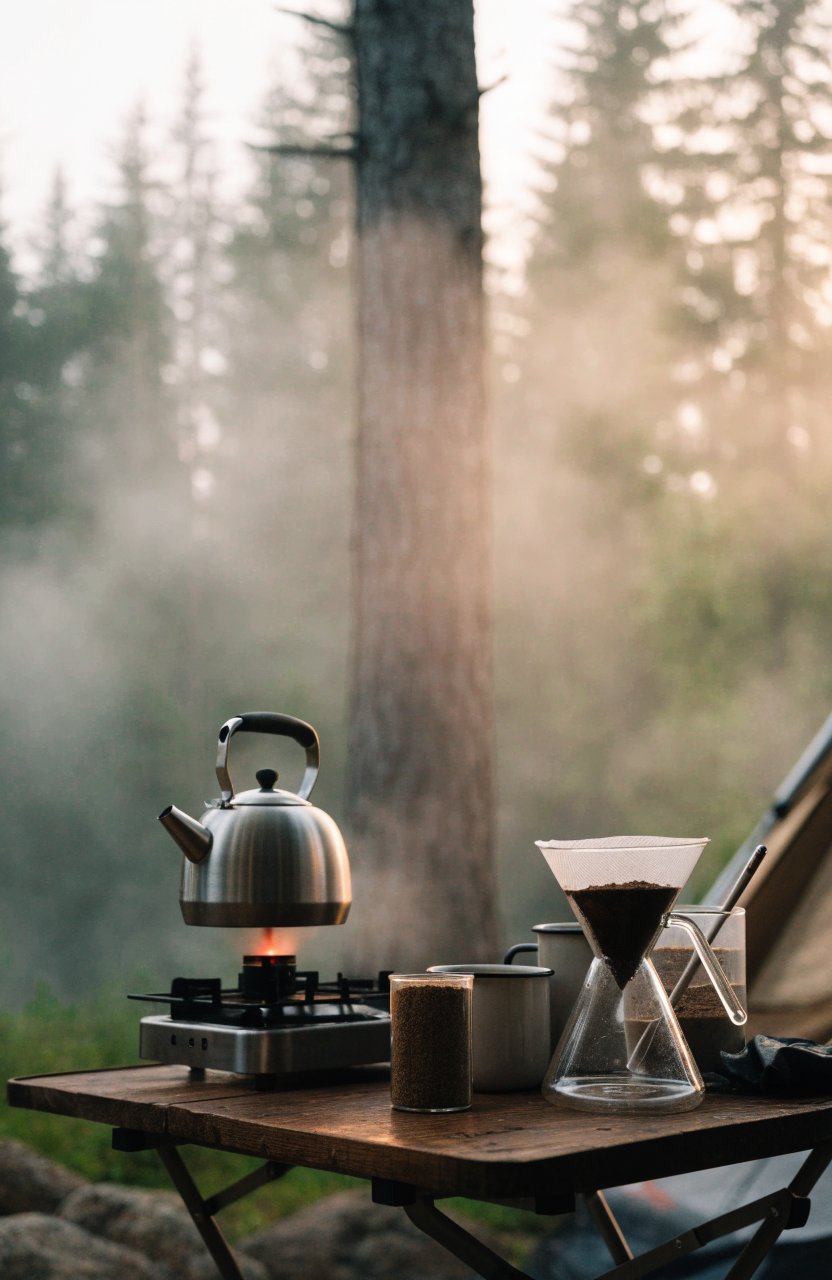
Keep the kettle, coffee, mugs, a lighter and a spoon together in one small box. On the first evening, set it at one end of the table so the morning routine is just pour, light and wait. Whoever wakes first can make coffee without opening the kitchen bins or waking everyone in the car.
14. Keep Fire Gear in One Bucket
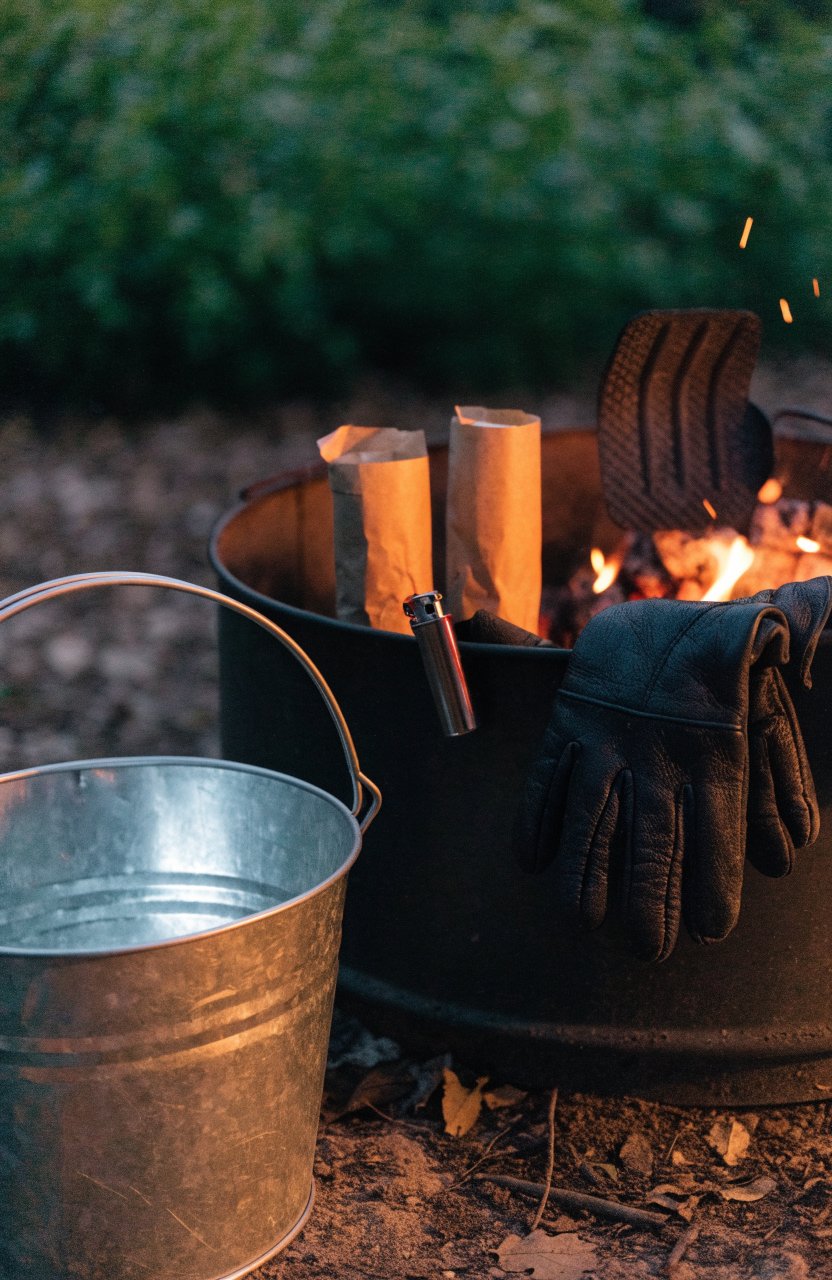
A metal bucket next to the fire ring holds everything for the campfire: a lighter, fire starters, leather gloves and a small shovel. At the end of the night, the same bucket filled with water is how you put the fire out. Drown it, stir the ashes and drown it again until everything is cool to the touch.
15. Add a Canopy Side Wall on the Wind Side
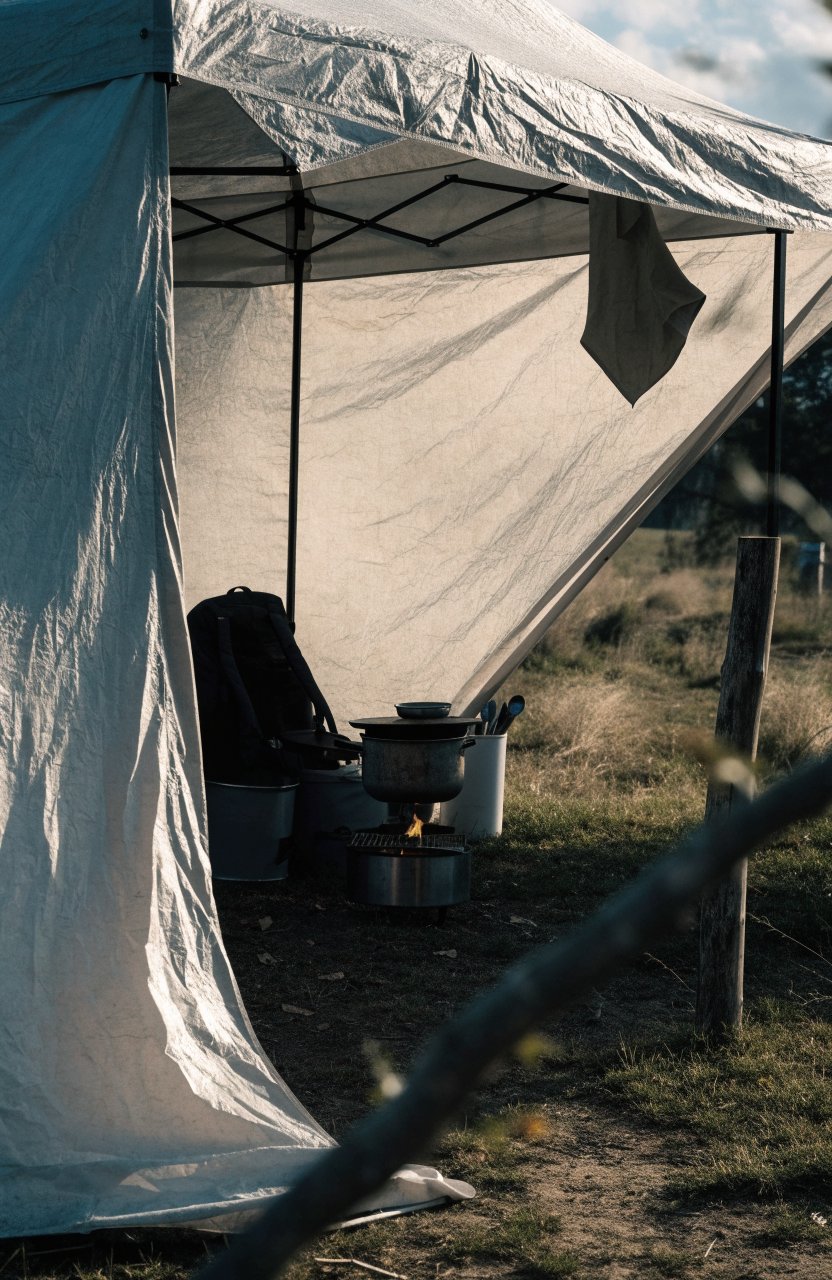
A canopy roof keeps off rain and sun, but wind still blows straight through the kitchen. One side wall clipped to the windward side blocks the gusts that blow out stove flames and scatter plates. Leave the other sides open for airflow and an easy way in and out.
16. Keep a Welcome Mat by the Tailgate
A $10 rubber mat stops dirt and pine needles from tracking into the sleeping area. Shake it out each morning and roll it with the canopy. After muddy trails it keeps the mattress and bedding from becoming a mess. Small detail, big difference in how clean the interior stays after three days.
These setups work because they solve the most common problems of sleeping in a car. The platform and mattress fix sleep. Leveling, zones and a rain plan fix the campsite. The table, canopy and coffee station make the time outside the car easy. Expect to tweak one or two things each season while the core list stays the same.
Frequently Asked Questions
What gear do I need for a basic car camping setup? A platform or thick mattress, privacy covers, a two-burner stove, cooler, and a couple of clear bins cover the essentials. Store-brand items keep a complete starter kit affordable.
How much does a solid set of 16 car camping setup ideas cost to build? You can assemble the core pieces for $300 to $400 if you shop sales and reuse household items. Skip the canopy at first and the total drops under $250.
Can these ideas work in a sedan instead of an SUV? Yes. Fold the seats, use a thinner platform, and the same mattress, privacy and kitchen systems still fit.
Do I need a rooftop tent for comfortable car camping? No. A platform and foam topper inside the car can be just as comfortable, and the interior stays warmer and quieter on windy nights.
How do I keep the car from fogging up overnight? Crack two opposite windows an inch and cover them with mesh. Cross ventilation drops moisture without letting in rain or bugs.
Start with the platform and mattress if sleep is your weak spot. Add the table and canopy next. The rest falls into place once those two feel solid. Try one or two on the next short trip and see which ones stick for you.