A dry tent and a warm night come from a short list of decisions made before dark, not from buying more gear. The ground has to shed water, the rainfly has to stay off the inner tent, and a sleeping pad has to stop the earth from pulling heat out of you. Most soaked floors and cold mornings trace back to one of those three, plus food left where it does not belong.
These 20 tent camping tips follow that sequence: where you pitch, how you stake and tension the shelter, how you handle rain and condensation, and how you keep food, fire, and waste from becoming a 2 a.m. problem. Campground rules, fire bans, and wildlife orders override any general tip below.
Choose the site before you unpack
1. Arrive with enough daylight to set up
The first setup of a trip should happen while you can still see the ground. A headlamp is a backup, not a planning tool. If the drive runs long, pitch the tent before dinner and the fire. A tired setup in the dark is how footprints get left sticking out, corners go unstaked, and low spots get ignored.
2. Take the flattest high spot, not the softest one
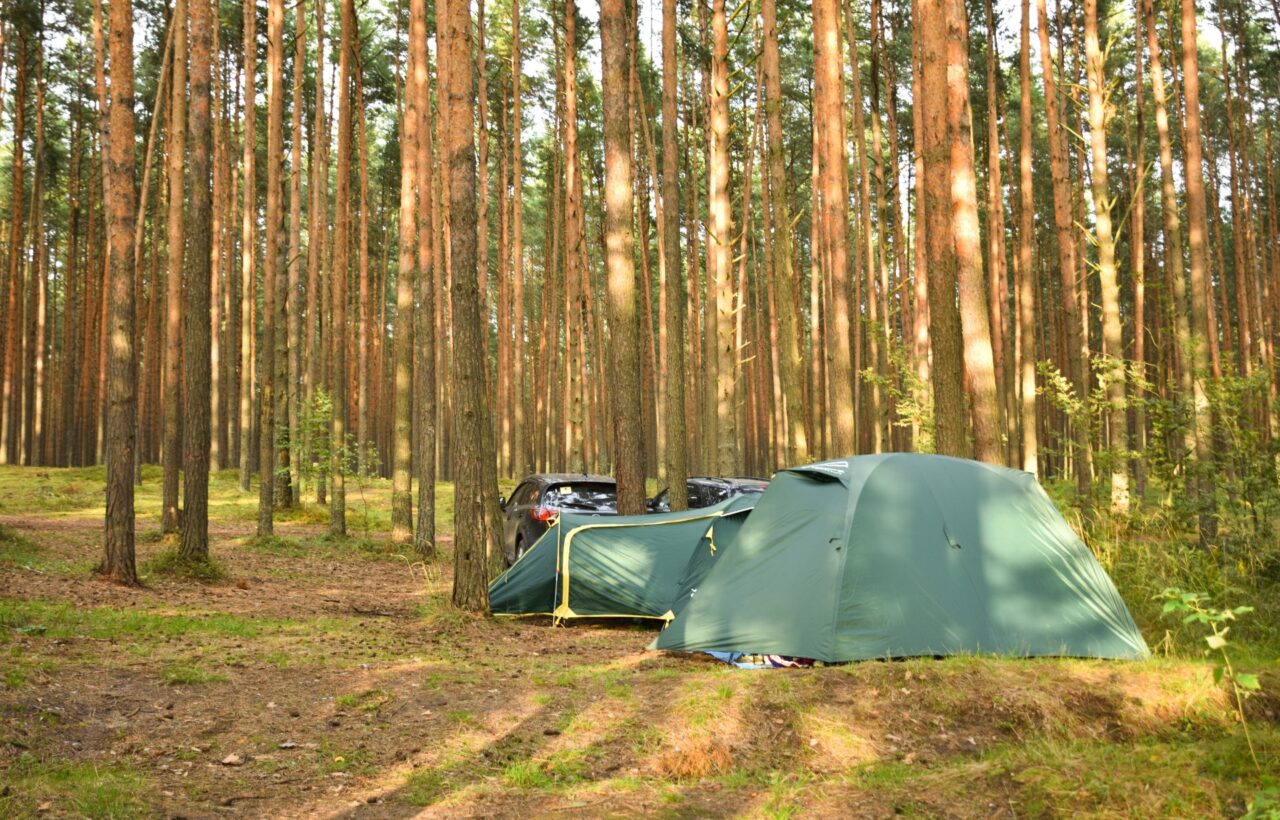
Walk the pad before the tent comes out of the bag. Clear loose sticks and stones that could puncture the floor. Do not scrape vegetation or dig a trench around the tent. Good campsites are found, not made.
Skip bowls, tire ruts, dry washes, and the low strip between two rises. A slight crown that sheds water is better than a perfectly flat hollow. If the pad has a mild slope, sleep with your head on the uphill side so you are not sliding downhill all night.
3. Look up before you look down
Dead limbs, leaning snags, and trees with fresh cracks are a reason to move, even if the ground looks perfect. A living tree can break the wind. A dead branch overhead is not a windbreak. In a developed campground, use the designated pad and still check what is above it.
4. In the backcountry, stay well back from water
Leave No Trace recommends camping at least 200 feet from lakes and streams, about 70 to 80 adult steps, to protect the bank and leave a corridor for wildlife. The same distance applies to washing dishes and digging a cathole. Developed campgrounds are different: use the assigned site even if it sits closer to a lake. Local rules win.
Pitch the tent so rain cannot get under it
5. Do one full setup at home
Stake it, attach the rainfly, and tension the guylines once in a yard or park before the trip. The first time should not be after a long drive, in wind, or in the dark. While it is up, find the vent zippers, the door orientation, and which pole goes where. Pack the stakes and guylines in the same pocket every time so they are not still in the garage when you need them.
6. Buy capacity for sleepers plus gear, not the label alone
A “two-person” tent often means two people and almost nothing else. For car camping, a tent rated one person larger than your group gives room for packs at your feet and keeps shoulders off the walls. Walls that touch a sleeping bag transfer condensation straight onto the insulation.
7. Keep every edge of the footprint under the floor
A groundsheet protects the floor from abrasion and ground moisture. It backfires when it sticks out past the tent. Rain runs off the fly, hits the exposed edge, and wicks underneath. If you are using a tarp as a footprint, fold the excess under so no coated edge is visible once the tent is staked.
8. Stake the corners before you call it done
A standing tent is not a finished tent. Stake every corner and every point the design calls for. Drive stakes at an angle, point aimed back toward the tent, so the load pulls against the length of the stake instead of lifting it straight out. In soft sand or loose duff, a short wire stake will pull. Use a wider stake, a buried deadman (a stuff sack or stick buried horizontally with the line tied to it), or move to firmer ground.
9. Tension the rainfly until it stays off the inner tent
On a double-wall tent, the rainfly and the inner tent need an air gap. If the fly sags onto the inner wall, water moves across by contact and drips inside. Guylines are what hold that gap in wind and rain. Stake them out and tighten them. After the fabric gets wet, walk the tent again and re-tension. Nylon stretches when damp, and a fly that was fine at sunset can be lying on the inner tent by midnight.
10. Face the door away from the weather you actually have
Point the door and the low side of the vestibule away from the prevailing wind and driving rain when the site allows it. A vestibule is for boots, wet jackets, and the pack. It is not extra bedroom. Cooking stays outside the tent entirely. Fuel-burning stoves and lanterns inside a closed tent are a carbon monoxide risk, and a spilled stove is a fire risk the fabric will not forgive.
Stay dry after the tent is up
11. Leave protected vents open, even in rain
A closed tent feels safer and gets wetter. People exhale a large amount of water vapor overnight. That vapor condenses on the cooler fly or inner wall and drips, which feels exactly like a leak. Open the vents the rainfly covers. If the design allows it, crack a door on the sheltered side. Sealing every opening is the most common reason a waterproof tent feels soaked by morning.
12. Keep wet gear out of the sleeping area
A soaked jacket inside a small tent can load the air with enough moisture to overwhelm the vents. Boots, rain pants, and a wet pack belong in the vestibule or a waterproof sack. Sleep clothes stay in a dry bag until you change. The layer you hike in is not the layer you sleep in.
13. Learn the difference between a leak and condensation
| What you see | More likely cause | What to change |
|---|---|---|
| Fine droplets across most of the inner wall or fly | Condensation | Open protected vents, keep wet gear out, restore the air gap |
| A wet line where the fly touches the inner tent | Contact, not a failed coating | Re-tension guylines until the layers separate |
| A damp floor with a wet ring at the edges | Footprint sticking out, or a low site | Tuck the footprint under; move off the runoff path if water is flowing |
| Water entering at the same seam, zipper, or pinhole every time | A real leak | Dry the tent later and seal or repair that point; do not rely on the site to fix it |
Wiping the ceiling with a towel treats the symptom. Ventilation and site choice treat the cause.
14. Leave the tent when you hear thunder
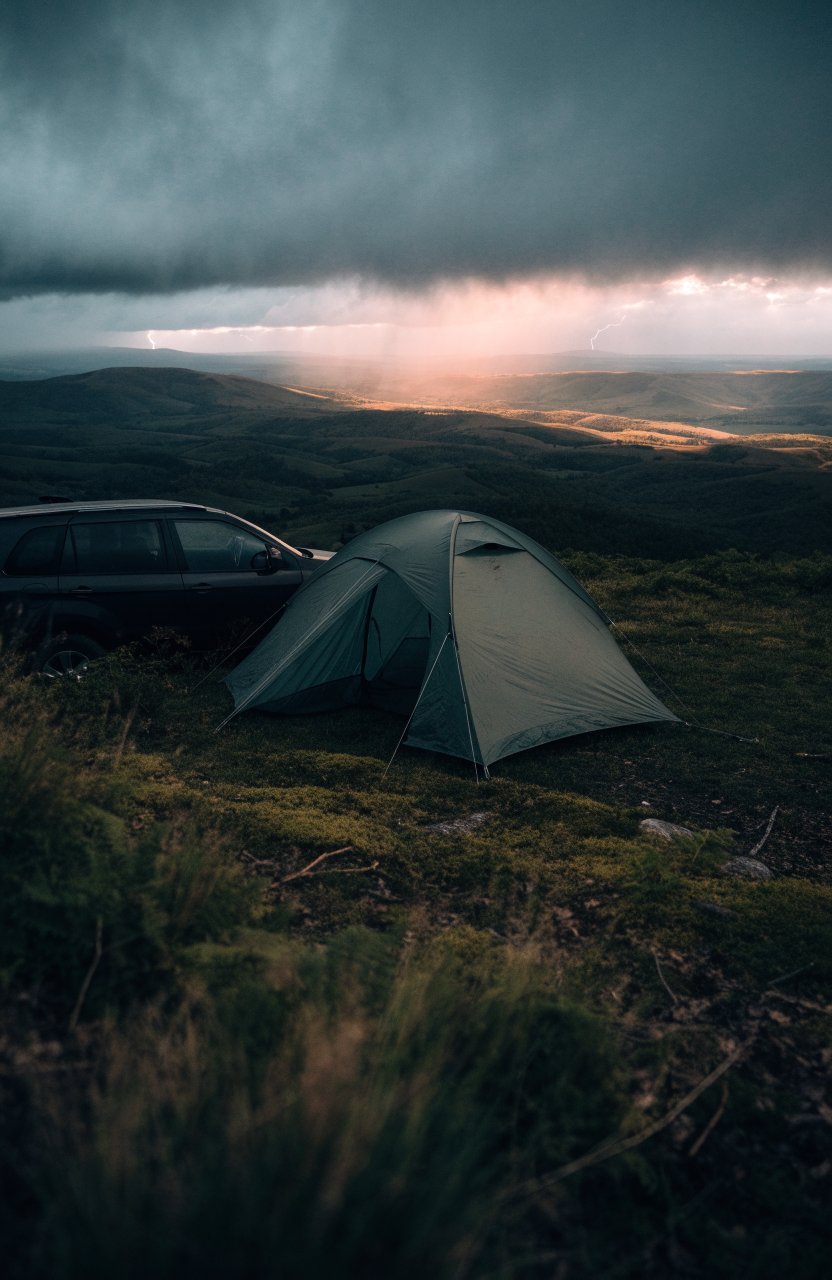
A tent is not lightning protection. Picnic shelters and covered porches are not either. The National Weather Service advice is to get inside a substantial building or a hard-topped metal vehicle with the windows up, and stay there until 30 minutes after the last thunder. If a storm is already in the forecast and you have no hard shelter nearby, postponing is the correct call.
Sleep warm with the gear you already have
15. Insulate yourself from the ground first
A sleeping bag’s temperature rating assumes you are on an insulated pad. The bag under your body compresses and stops trapping air, so the pad is what blocks ground chill. A cheap air mattress from home is comfortable and a poor insulator unless it has insulation or you add a closed-cell pad under it. If you wake up cold with a warm chest and a cold back, the pad is the problem, not the bag.
16. Treat the bag rating as a survival number, not a comfort number
Ratings are not standardized in a way that maps cleanly to “I slept well.” A bag marked for the overnight low you expect is often too cold for a comfortable night, especially if you sleep cold, the pad is thin, or your clothes are damp. A liner, a dry base layer, and a hat close that gap more cheaply than a new bag. Vent the bag if you overheat. Sweat that soaks the insulation will chill you later.
17. Change into dry sleep clothes after camp is finished
Cook, clean up, and stake the last guyline before you put on the dry layer. Once it is on, it stays out of the dew and the dishwater. A spare pair of wool or synthetic socks reserved for the sleeping bag matters more than an extra blanket you have to carry wet the next day. Cotton against the skin holds moisture and cools you. Wool and synthetic layers do not.
Food, fire, and the rest of camp
18. Never keep food or scented items in the tent
Toothpaste, sunscreen, wrappers, and a granola bar count. Animals learn that tents contain food, and a tent wall is not a barrier. In bear country, follow the land manager’s rule exactly: a locker, a certified canister, an approved hang, or a locked hard-sided vehicle. Cook and store food away from the sleeping area when the site allows it. The same rule applies in campgrounds with raccoons. “Just this once” is how a cooler gets opened overnight.
19. Keep perishable food at or below 40°F
Bacteria multiply quickly between 40°F and 140°F, the range the USDA calls the Danger Zone. Cold food needs to stay at or below 40°F. Do not leave perishables above 40°F for more than 2 hours, or 1 hour if the air is above 90°F. A cooler works if it stays closed, ice is replenished, and raw meat is packed below ready-to-eat food. Freeze water bottles ahead of time so they serve as ice and as drinking water later. If you cook meat, a thermometer is the only reliable doneness check: 165°F for poultry, 160°F for ground beef, pork, veal, or lamb.
20. Use the fire ring, then put the fire out all the way
Use an existing ring where fires are allowed, and check the current restriction before you collect wood. Keep the fire small and attended. The tent should sit well back from sparks. Distance rules vary by park. A common campground figure is on the order of 15 feet from grills and fire rings, but the posted rule is the one that counts.
Out means cold. Drown the embers, stir, and drown again until you can hold your hand close and feel no heat. A fire that looks dead at night can still be burning in the ash when you leave in the morning. Pack out trash, including food scraps. To wash dishes, carry water away from the source. In the backcountry that means about 200 feet, with only a small amount of biodegradable soap.
Fixes for the problems that show up anyway
Stakes will not hold. Stop hammering the same hole. Shift to firmer soil, add a second stake on the same loop in a V, or bury a deadman. Rocks piled on a stake are a weak anchor and a toe hazard. Rocks can weight a guyline if the cord is tied around them and they cannot slide.
The floor is wet and the rain has stopped. Check the footprint edges and the ground under the tent before you blame the fabric. If water is flowing through the site, move. Do not trench. Relocating a tent in a lull is easier than bailing one at midnight.
You are cold even though the bag is “rated” for this temperature. Eat something, put on the dry layer and a hat, and add insulation under the pad. A tent warms only a little from body heat. It is not a heated room. Venting a bit of moisture is still worth it. A sealed, damp bag insulates worse than a slightly cooler, dry one.
Wind is lifting a corner. Stake the windward side first, drop the profile if the design allows a lower pitch, and add guylines before the gusts get stronger. An unstaked tent in wind is a kite with your sleep system inside it.
Frequently asked questions
Do I need a footprint? You need something between a thin tent floor and abrasive ground if you want the floor to last. A properly sized footprint or a tucked tarp does that. It does not fix a site that collects water.
Can I run a heater in the tent? Do not run a fuel-burning heater, stove, or lantern in a sleeping tent. Carbon monoxide and fire are the reasons. Battery devices made for indoor use are a separate product category. Follow that product’s instructions, and still do not block vents.
What if the campground pad is already muddy? Use the pad you were assigned. A larger tarp under a picnic area can make a dry standing zone, but do not extend a groundsheet past the tent floor. Keep the rainfly tensioned and the vents open so the inside does not become the wettest part of camp.
How do I keep bugs out without sealing the tent? Close the mesh before dusk, and keep the rainfly over the mesh so you are not choosing between insects and rain. A light inside the tent draws insects to the netting. Do your cooking away from the door so food smells are not at the zipper you are about to open.