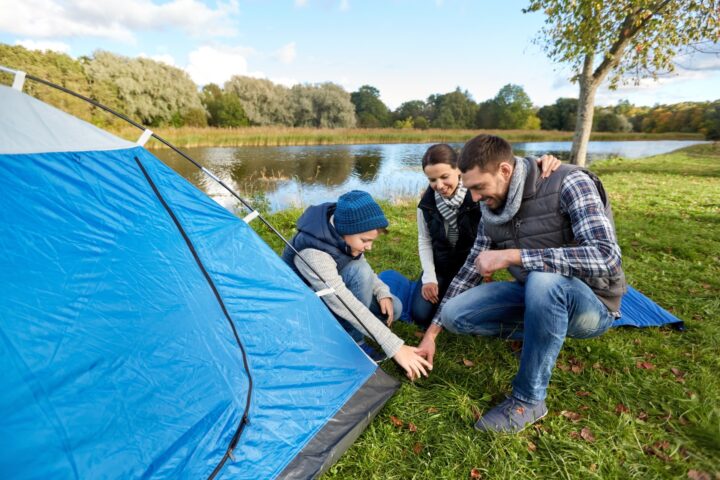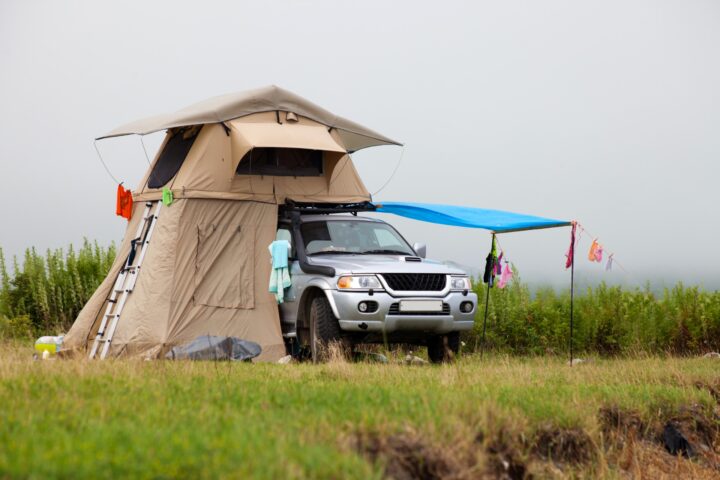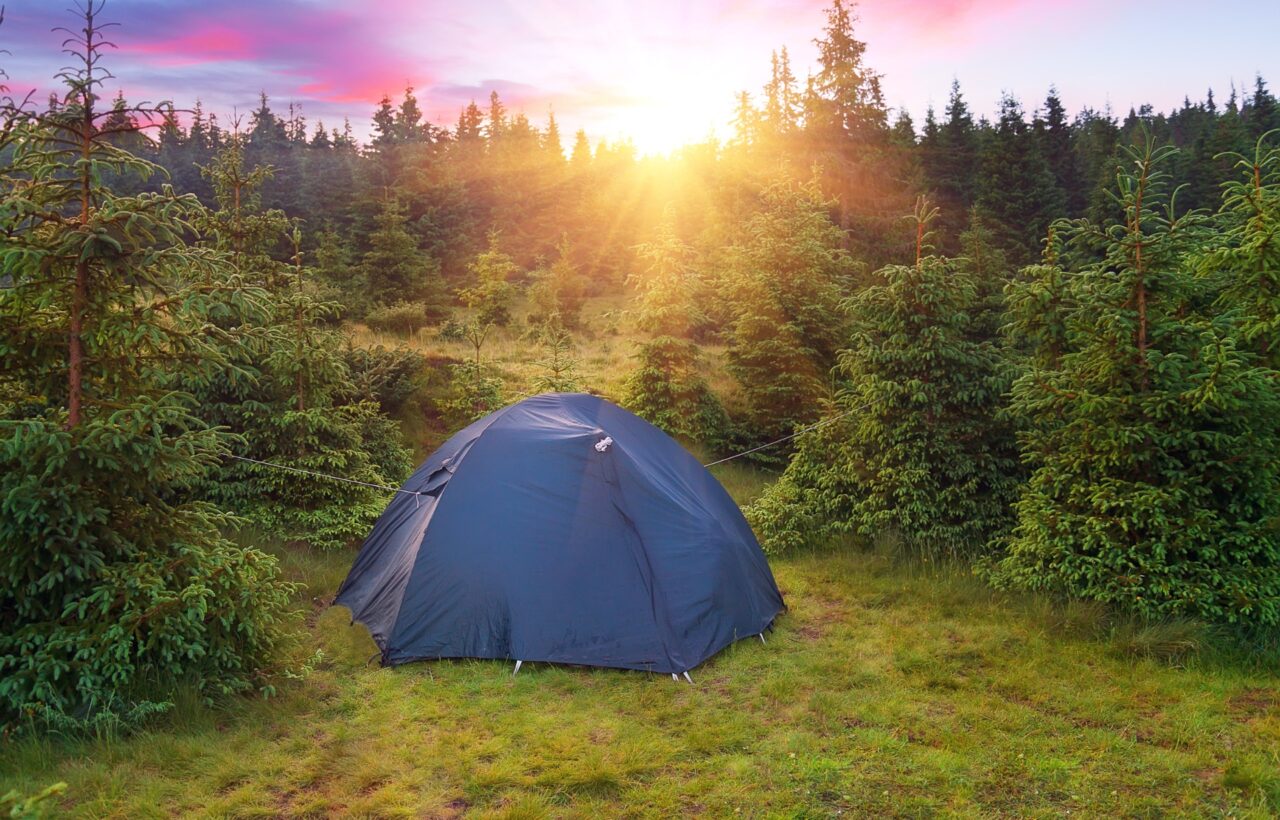
Plenty of campers skip the guy lines on a calm evening and assume the tent will be fine until morning. Most first-night problems trace back to choices like that one, along with a low or sloped site, a groundsheet poking out past the floor and poles never fully seated. The better approach is to set up a camping tent so the floor stays taut, the rainfly sits clear of the inner walls, and everything is anchored before weather arrives.
Do one practice pitch at home. It finds missing stakes and confusing pole clips while they can still be fixed.
Practice the Pitch Before You Leave Home
Unpack the full kit on a lawn, driveway, or living-room floor. Confirm you have the tent body, rainfly, poles, stakes, and guylines. Count stakes; many tents ship with barely enough for corners, not a full guy-out.
Read the manufacturer sheet once. Pole colors, clip vs. sleeve systems, and fly orientation are model-specific. A backyard pitch also shows whether zippers snag and whether the fly door lines up with the inner door.
Do this even if you have used tents before. A new model can take 20 minutes the first time and under 10 minutes after you know the order.
Choose a Site That Does Most of the Work
Site choice matters more than brand or pole quality. A well-pitched tent in a puddle still soaks. A sloppy pitch on high, firm ground often survives a squall.
Look for these conditions
- Nearly level ground. A slight slope is acceptable if your head will sit uphill. Sleeping with feet higher than your head is far more disruptive.
- Slightly raised ground so rain runs away from the floor, not toward it.
- Space beyond the floor for vestibules and guy lines. Crowding the tent against a picnic table or brush makes staking and door use awkward.
- Wind protection from a hill, dense trees, or a vehicle parked upwind—without camping directly under dead branches.
- Durable surface already used as a tent pad when you are in a developed campground. On pristine ground, use an existing bare patch rather than flattening new vegetation. Camp at least 200 feet from lakes and streams when you are outside a designated pad.
Lie down on the empty ground for ten seconds before you commit. Roots and rocks that feel small standing up become the thing you feel all night.
Skip these spots
- Depressions and obvious drain paths. After a storm they become ponds.
- Directly under “widowmakers”—dead or hanging limbs that can fall in wind.
- Open ridges and wind tunnels between buildings or tree lines if a front is coming.
- Soft river sand or loose beach sand unless you have long sand stakes or can bury deadman anchors.
Orient the tent so the narrowest end faces into the wind and the door faces away from it when weather is a concern. A door aimed into rain turns every entry into a wet vestibule.
Skip the prettiest low meadow, because pretty often means water collects there. Face the door away from the wind as well, or rain and noise follow straight inside.
The Standard Setup Sequence for a Freestanding Tent
Most car-camping and backpacking tents are freestanding double-wall designs: an inner body on poles, plus a separate rainfly. The body can stand without stakes, but you should still stake it. Wind does not need a forecast to arrive.
1. Clear the pad and lay a footprint that stays smaller than the floor
Pick up sticks, cones, and sharp stones. Lay the footprint or a folded tarp first.
Keep the groundsheet slightly smaller than the tent floor. If the tarp sticks out, rain hitting the fly runs onto the exposed edge and channels under the tent. Fold extra tarp under itself until no edge shows.
A footprint is not only about leaks. It also saves the floor from abrasion.
2. Spread the tent body and decide door direction
Lay the inner tent on the footprint with the door facing the direction you chose. Open zippers if the instructions say so for some airbeam or cabin tents; for most pole tents, keep doors closed while you raise the structure so the fabric holds its shape.
If it is already breezy, stake two windward corners through the flat fabric before you add poles. That stops the body from becoming a kite.
3. Assemble poles without snapping them together
Shock-corded poles look ready when they are only half seated. Push each section fully home. A joint that looks connected but is not seated is a common bend point under tension.
Do not whip poles like a whip. Seat them on the ground. Group long poles and short poles so you do not thread the wrong one through a sleeve.
4. Attach poles, then raise the structure
Two common systems:
- Clips: poles form the frame first or sit in corner grommets, then fabric clips onto the poles. Faster.
- Sleeves: poles slide through fabric channels, often crossing in an X on a dome. Often a bit stronger in wind, a bit slower. Do not force a snagged pole; back it out and free the fabric.
Seat pole tips into the corner pins or grommets. Raise gradually. If you have a partner, one person holds a pole end while the other clips. Solo, work from one end so the tent does not twist.
Color-coded hubs and webbing exist because the geometry only works one way. If a corner will not reach, a pole is in the wrong path or a previous corner is twisted.
5. Stake the floor taut
Stake opposite corners first, then the remaining corners. Pull the floor into a clean rectangle—not a diamond. A skewed floor shrinks interior space and makes walls sag.
Drive each stake so it resists the pull of the webbing. The common field method is about a 45-degree angle with the hook pointing away from the tent. Leave just enough head exposed to hold the loop. In firm soil, driving the stake more vertically and fully into the ground can also hold well; the failure mode to avoid is a shallow, nearly horizontal stake that pries out.
If the ground is rock, move the stake a few inches rather than bending it. If it is sand or snow, use longer stakes or bury a stick/rock as a deadman and attach the guy to that.
6. Put on the rainfly and create an air gap
Drape the fly so vestibule doors match inner doors. Clip or buckle the fly to the corners, then tension the straps.
The fly should not rest against the inner tent. Where the two fabrics touch, condensation transfers inward. Stake vestibules out so the fly stands off the mesh. That air gap is what keeps bedding dry on a cool night, even when it is not raining.
In fair, hot weather some campers leave the fly off for airflow. Put it on if there is any chance of dew, wind-driven spray, or a night-time temperature drop.
7. Guy out the tent, then re-tension after it settles
Attach guylines to the loops on the fly above pole intersections, pull them outward in line with those poles, and stake them a couple of feet away. Tighten with the line-locks until the fly is smooth, not drum-tight to the point of stressing fabric.
Walk the perimeter after five to ten minutes. Nylon stretches as it warms and after the first pull. Re-tension corners and guys. A quiet, taut fly sheds rain; a sagging fly collects it and slaps all night.
Then set sleeping pads and bags. Keep gear off the walls so damp fabric does not wet your quilt.
Fold under any footprint edge that sticks out past the floor, since water funnels underneath. A freestanding tent still needs stakes at every corner, plus guylines even on a clear evening, because overnight wind is common at exposed sites.
How Setup Changes When It Is Windy or Already Raining
Calm-day order is footprint, body, poles, stakes, fly, guys. Weather changes the order.
Wind
Keep every loose piece weighted or bagged. Stake the windward corners while the tent is still flat. Assemble poles low to the ground on the sheltered side. Raise the low or narrow end first so the wind hits a slope instead of a wall. Put a packed bag inside as soon as the tent can hold it. Use every guy point, not only the corners.
If you cannot control the fabric, wait or move. An exposed ridge in a gale is a site problem, not a staking problem.
Rain
The goal is to keep the inner tent from sitting in open rainfall.
- Pitch a tarp or dining fly first if you have trees or poles, then work under it.
- If the tent is designed to pitch fly-first (outer first), use that order: fly and poles up, then clip the inner underneath.
- If it is a standard inner-first tent, keep the inner bagged until poles and fly are ready, work quickly, and throw the fly on as soon as the body can hold it.
- Towel your hands. Wet poles slip and snag sleeves.
- After the pitch, tuck the footprint again. Setup in mud is when edges creep out.
Do not dig drainage trenches on public land unless a site specifically allows it; fill any disturbance before you leave.
What Changes With Other Tent Types
Use the same site rules. Change the mechanics.
| Tent type | What changes during setup |
|---|---|
| Freestanding dome / most backpacking tents | Body can stand alone; still stake and guy. Clips or sleeves on crossing poles. |
| Non-freestanding / trekking-pole tents | Shape depends on stakes from the first minute. Stake points and pitch angles are not optional. |
| Cabin or large family pole tents | Extra poles, rooms, and more stakes. Two people save a lot of time. Keep doors closed while raising. |
| Inflatable / airbeam family tents | Peg corners loosely first, inflate with doors closed so panels do not twist, then re-peg the skirt and guys. Open doors before deflating so trapped air can leave. |
| Instant or pop-up tents | Unfold away from wind, lock hubs fully, then stake immediately. They catch wind fast. |
| Canvas wall or outfitter tents | Longer setup, many stakes, often two people. Follow the frame order in the manual; do not improvise pole placement. |
If you rented the tent, ask whether it pitches inner-first or fly-first before you leave the counter.
After the Tent Is Up
Do a one-minute walk-around:
- Floor is a rectangle, not a parallelogram.
- Fly doors match inner doors.
- No fly fabric resting on mesh.
- Footprint hidden under the floor.
- Guys pulling from pole lines, not yanking random fabric.
- Vents unblocked.
Then set the sleeping system. Pads first, then bags, then a small light. Shoes and wet layers belong in the vestibule, not on the sleeping floor.
When you pack up, shake debris while the poles are still in if the site is sandy, and dry the tent before long-term storage. A wet tent packed for a week is how mildew starts.
FAQ
How long should camping tent set up take? A familiar two- or four-person freestanding tent usually takes 5–15 minutes in calm weather. A first pitch, a large cabin tent, rocky ground, wind, or darkness can push that much higher. The backyard rehearsal is what shortens campground time.
Do I need a footprint if the floor is already waterproof? You do not need one for the tent to stand, but a correctly sized footprint reduces abrasion and helps keep ground moisture from sitting against the floor. The size rule matters more than the material: smaller than the floor, edges tucked.
Should stakes go straight down or at an angle? Aim the stake so it opposes the pull of the loop. A 45-degree angle with the head away from the tent is the usual field advice. Drive it deep enough that only the hook remains. In very firm soil, a fully buried near-vertical stake can also hold; a shallow stake at any angle will not.
Can I skip guy lines if the forecast is clear? You can, and many people do on protected campground pads. You should not if the site is exposed, the tent is tall, or weather can change overnight. Guys are cheap insurance and take a minute once the lines are pre-attached.
Why is the inside wet when it did not rain? Usually condensation. Warm, moist air from people hits a cold fly or wall. Keep the fly off the inner tent, crack vents, and avoid pressing sleeping bags into the walls. Check whether the footprint edge is collecting runoff before you assume the floor failed.
What if I cannot get stakes into rocky ground? Shift a few inches. Use a rock as a hammer, not as a pry bar. If nothing bites, tie out to a larger rock or log, or use a deadman buried horizontally. Do not keep bending the same thin hook stake into the same rock.
Should I set the tent or the kitchen first? Shelter first when weather is uncertain or daylight is short. Food can wait under a hatchback. A pitched tent gives you a dry place to sort the rest of camp.
A camping tent set up is a short checklist, not a talent. Flat high ground, a tucked footprint, fully seated poles, a rectangular floor, a fly that stands off the inner tent, and stakes that are actually in the ground will handle most nights. Do that sequence once at home. At camp you will only be adjusting for the site, not learning the tent.